Assembling the 40m Pixie

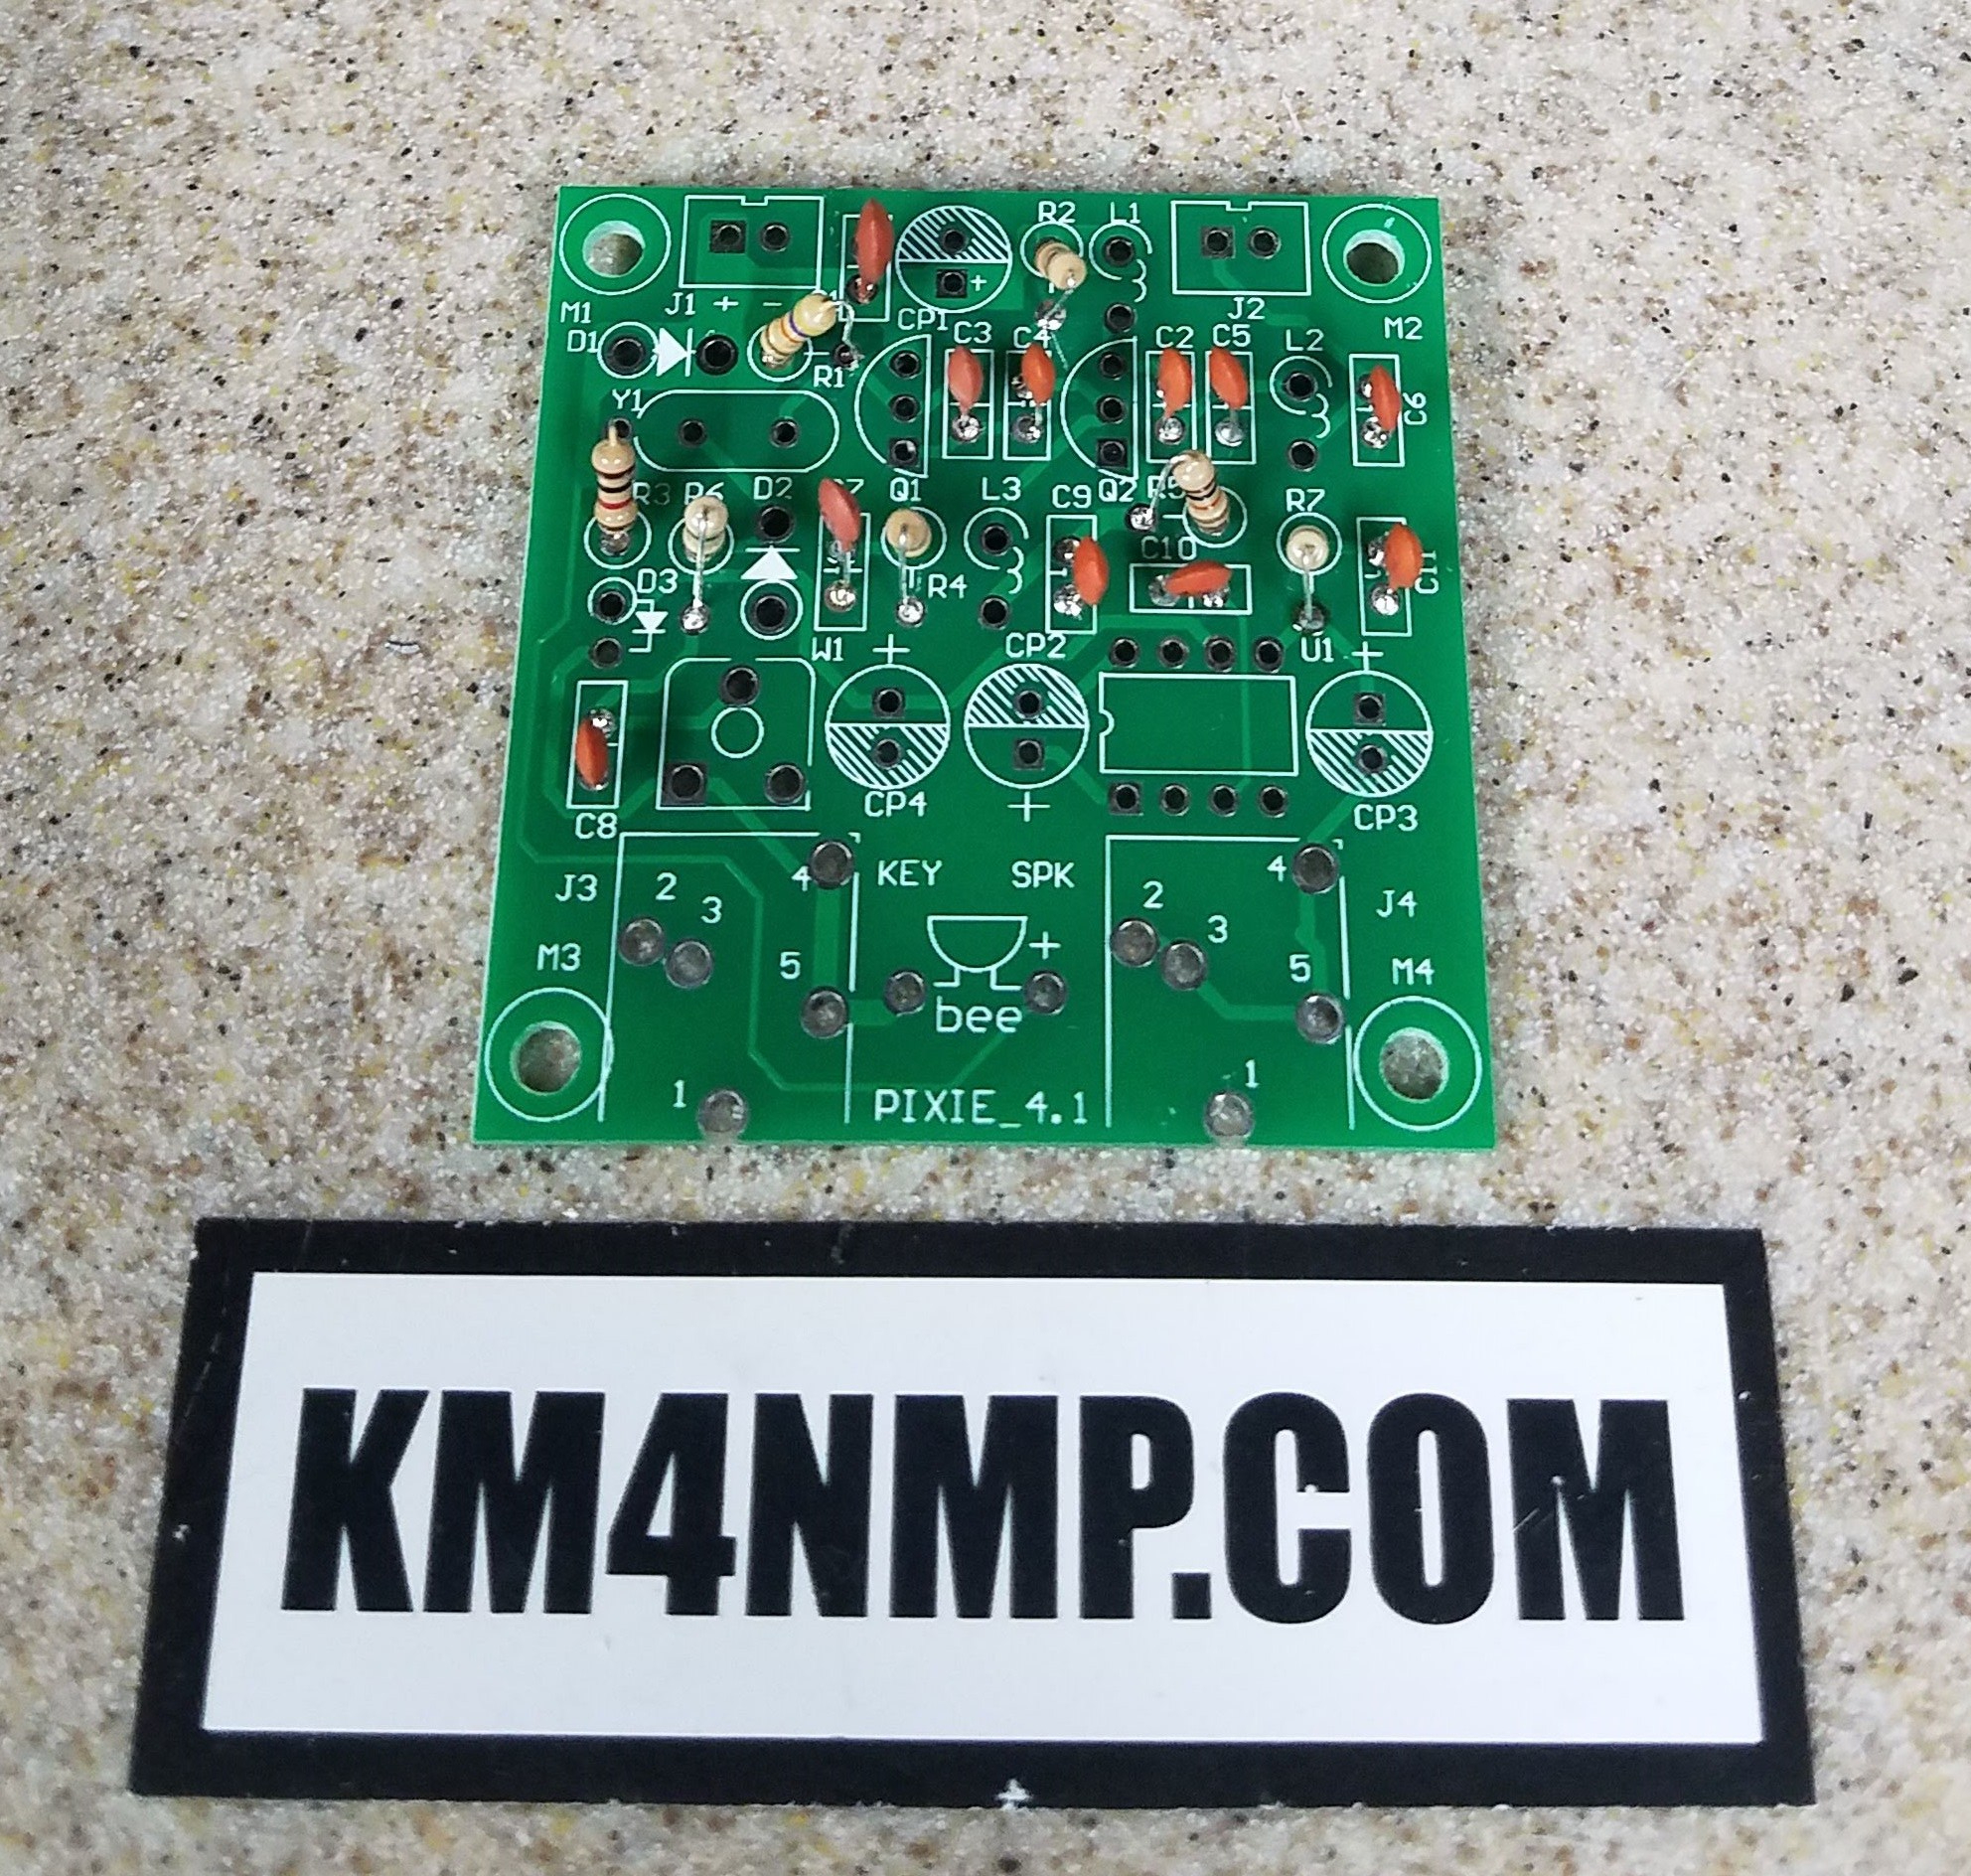
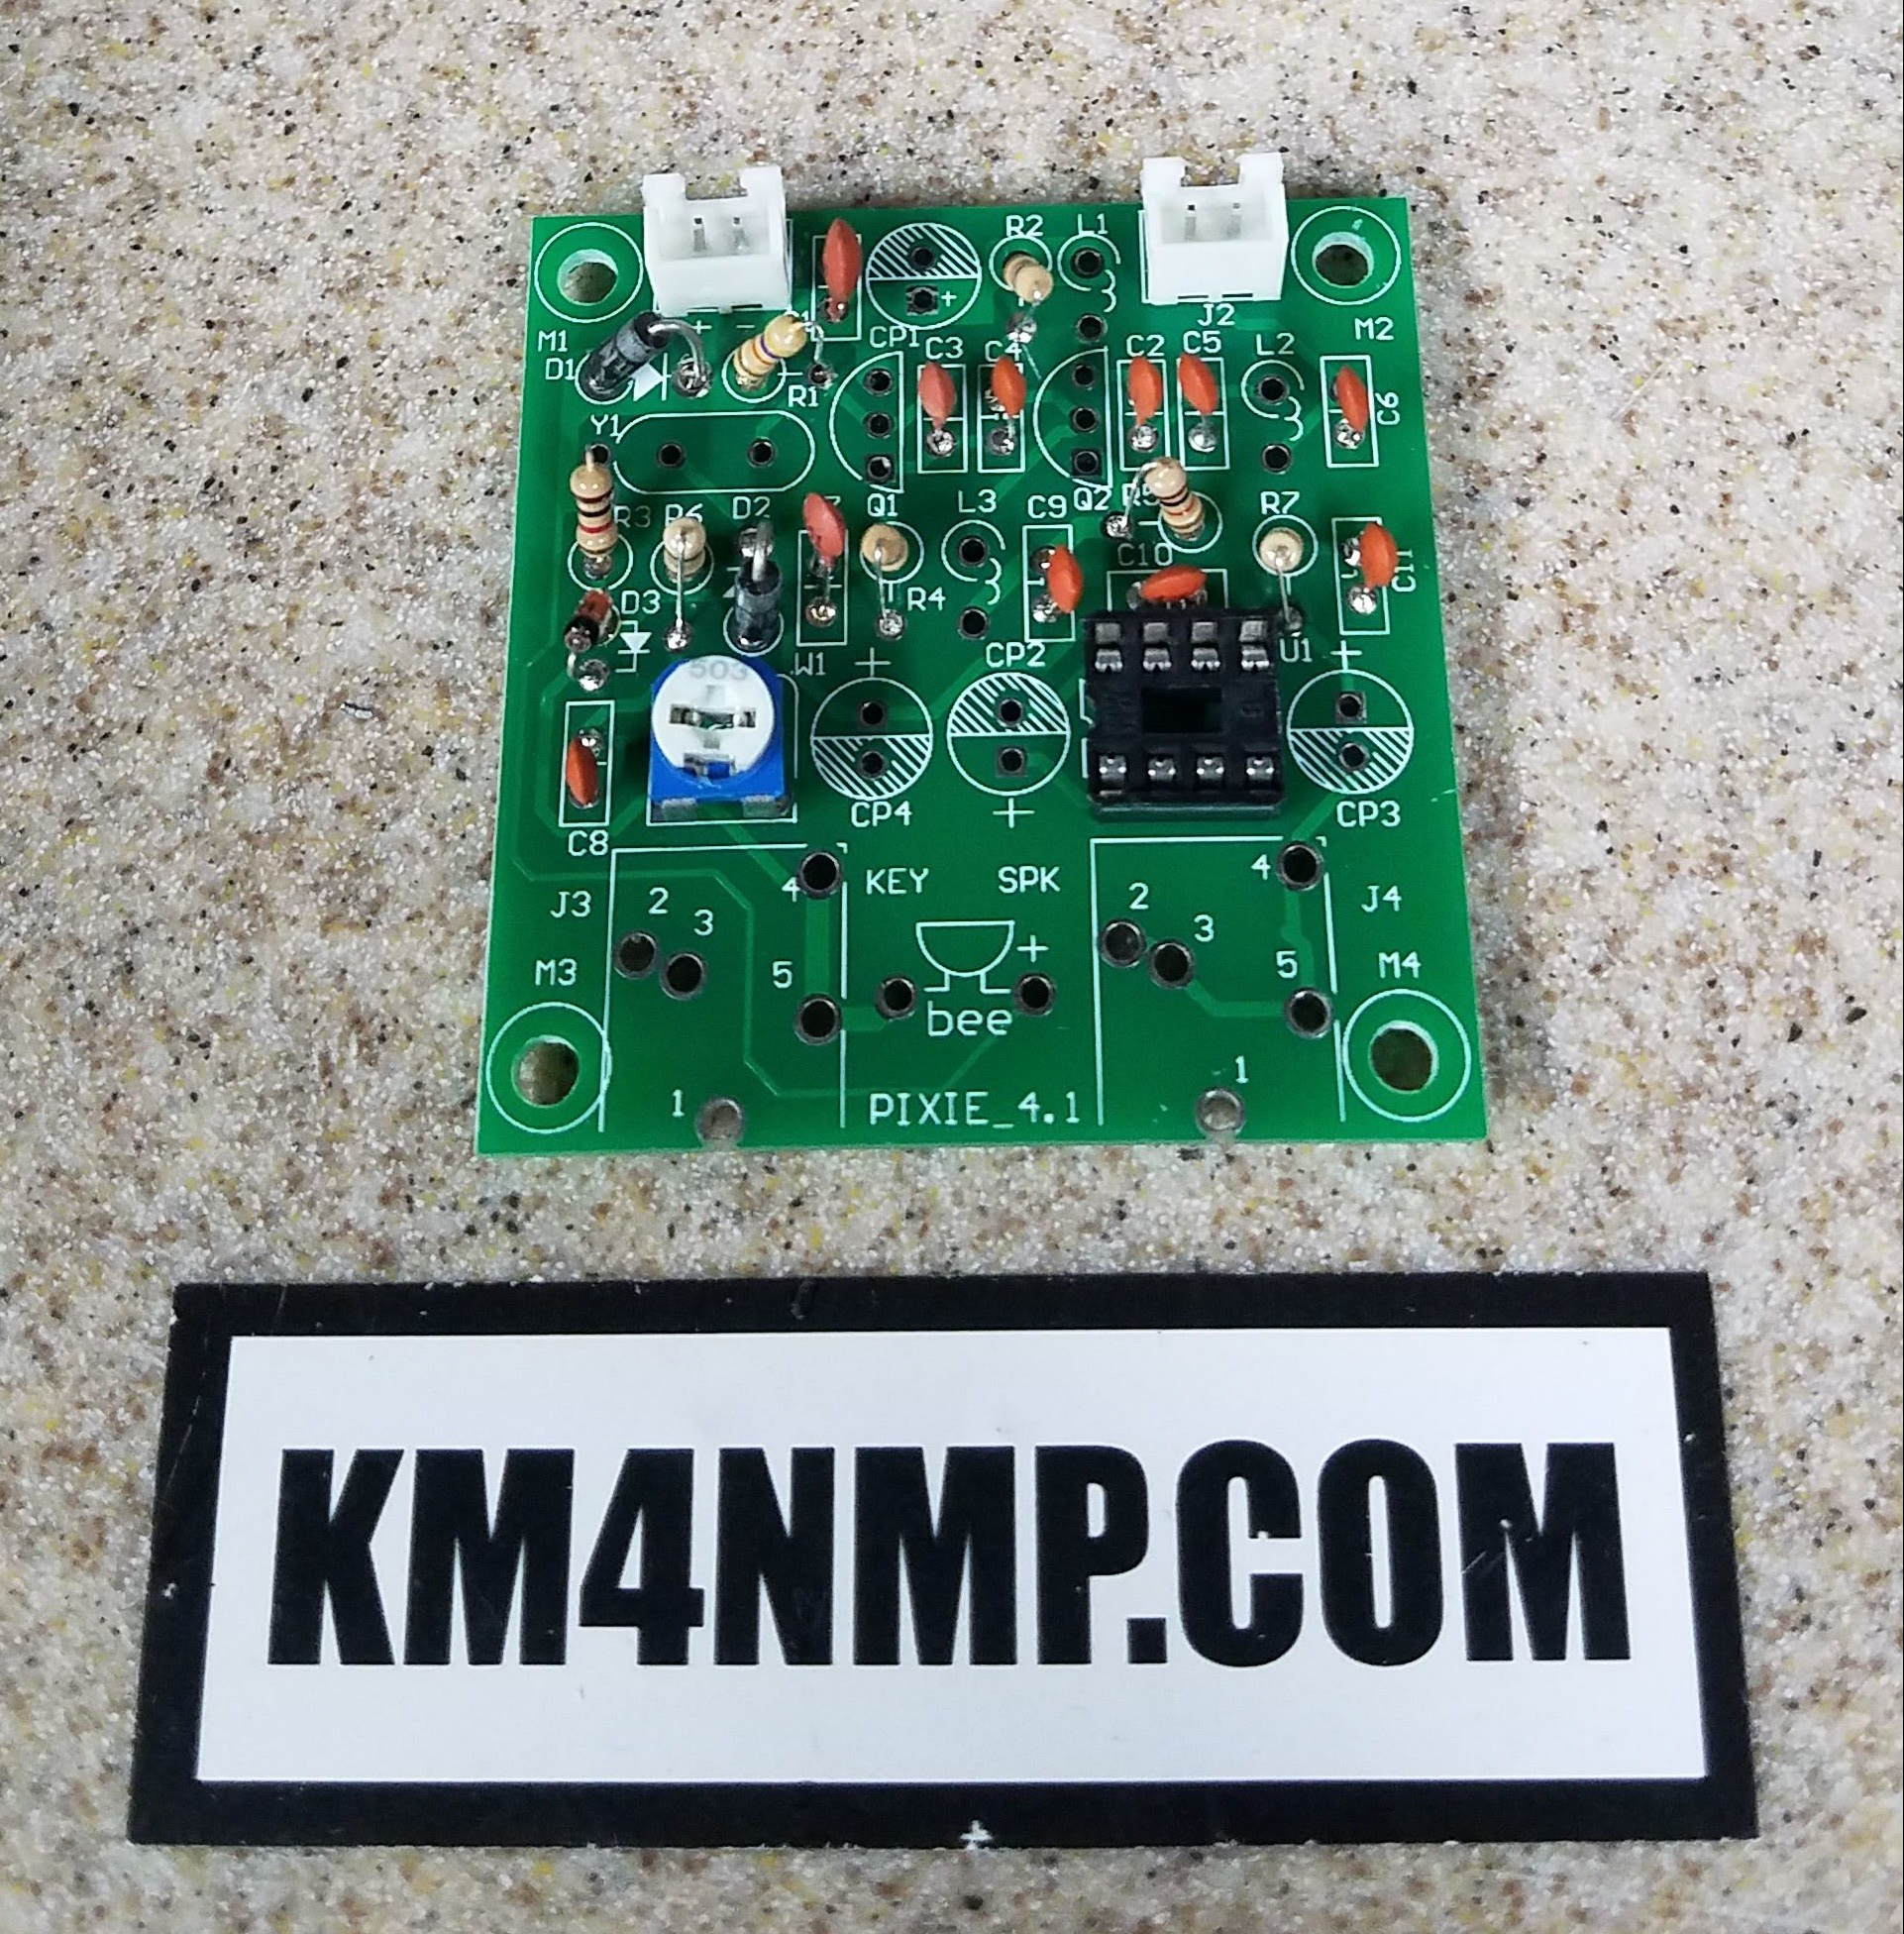
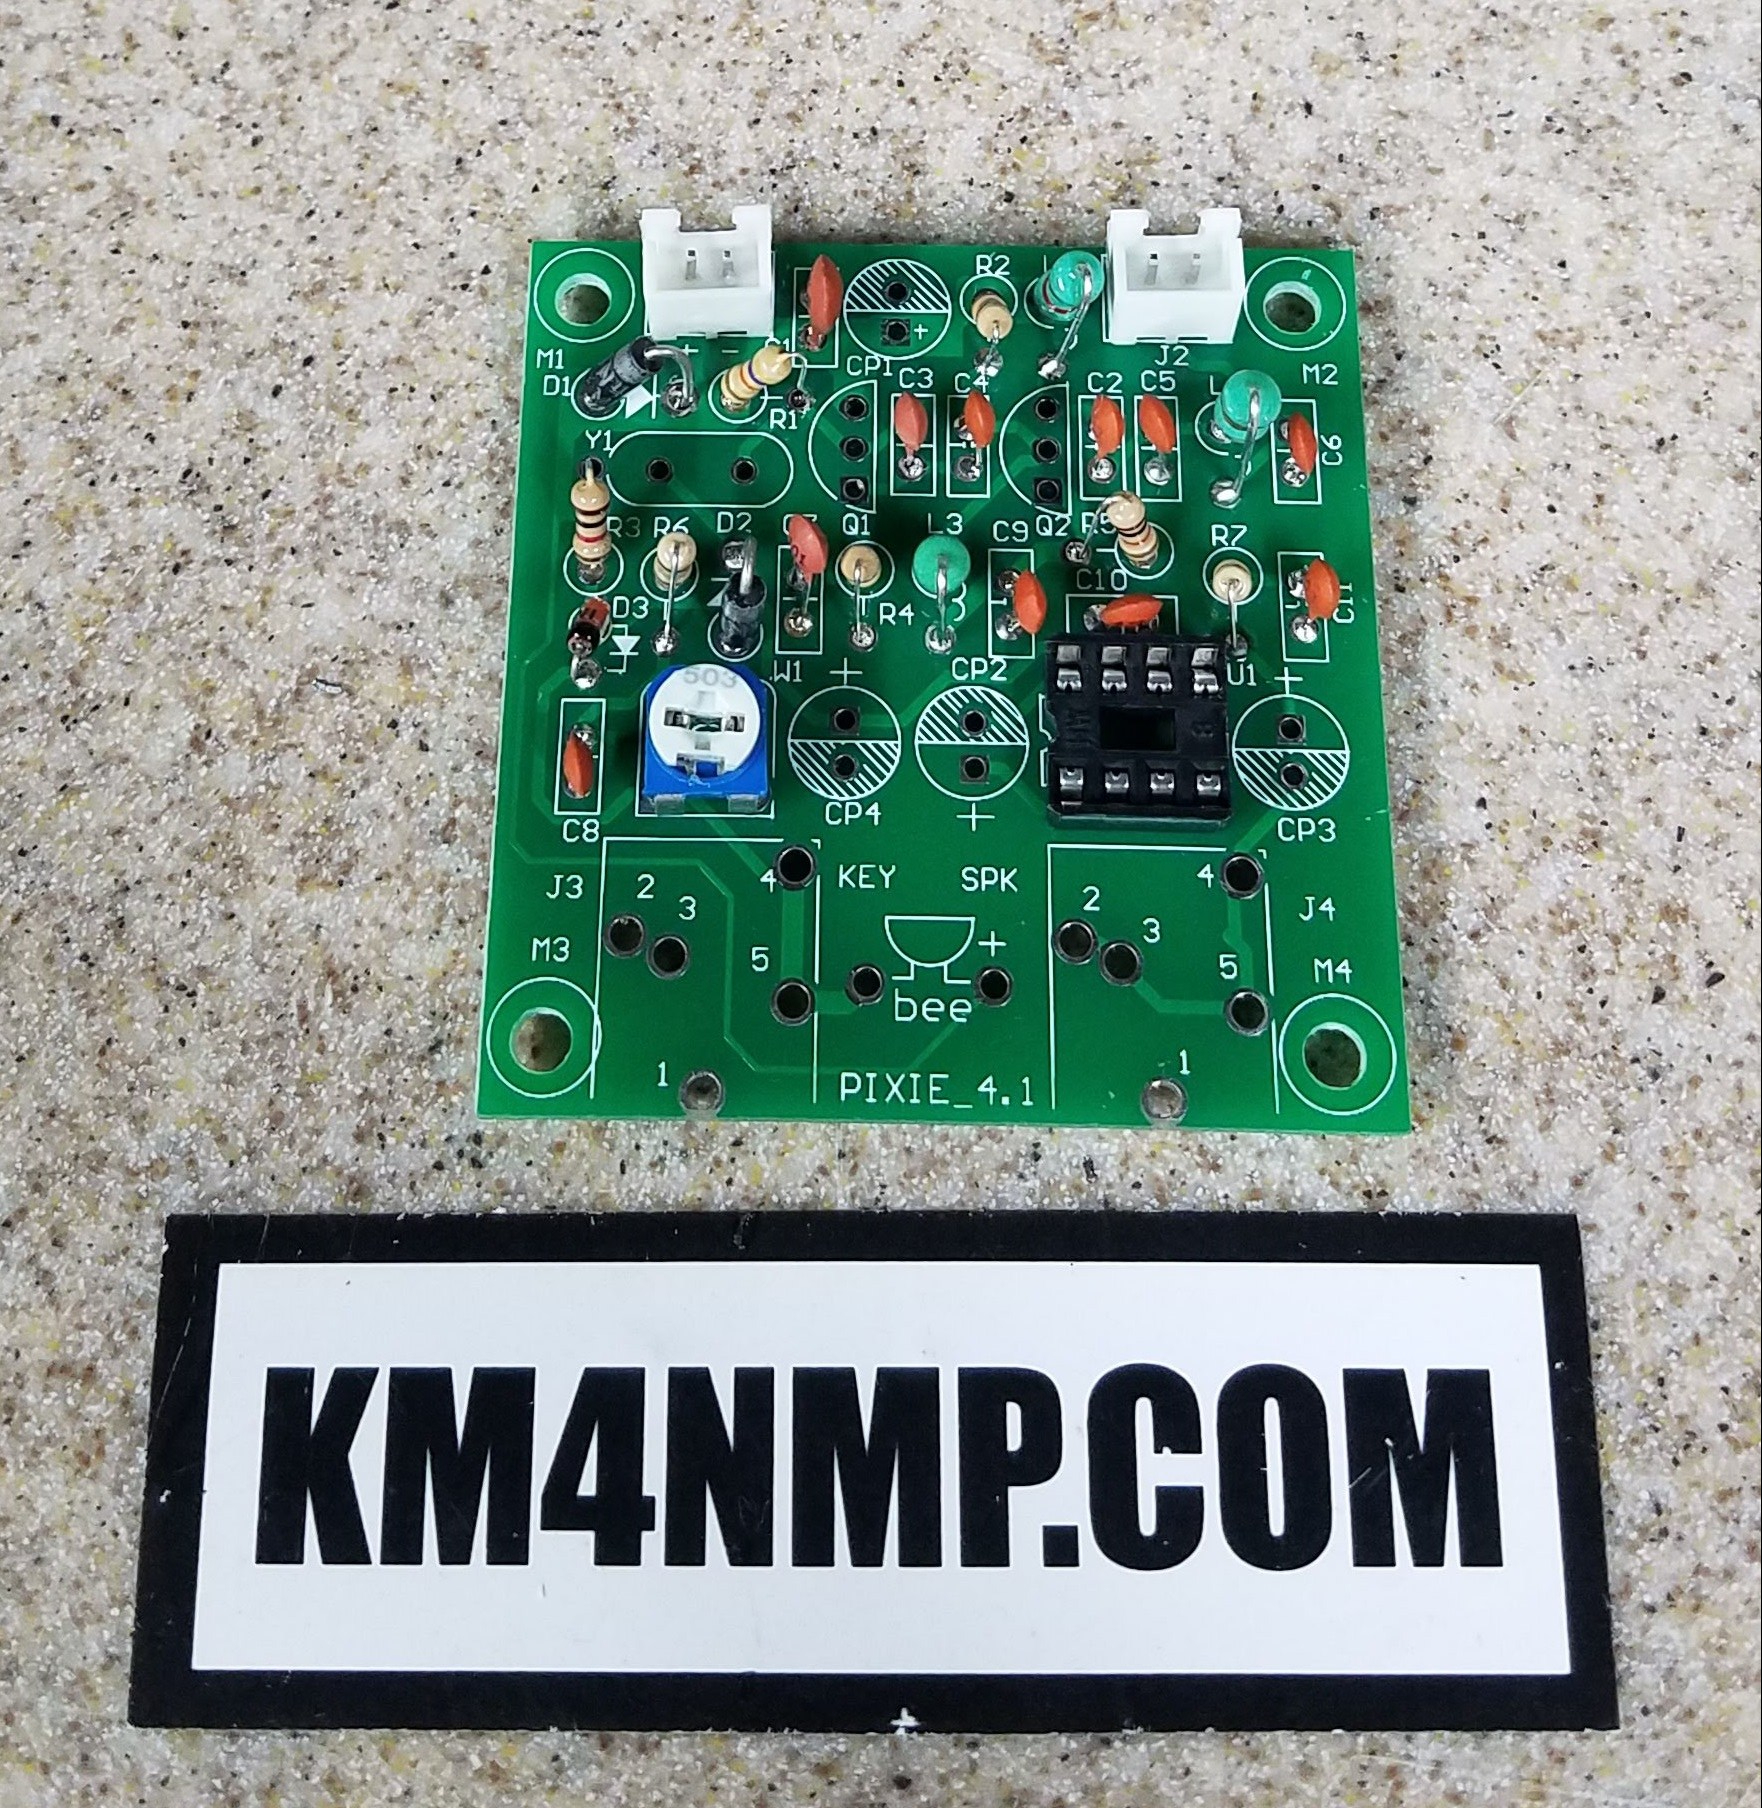
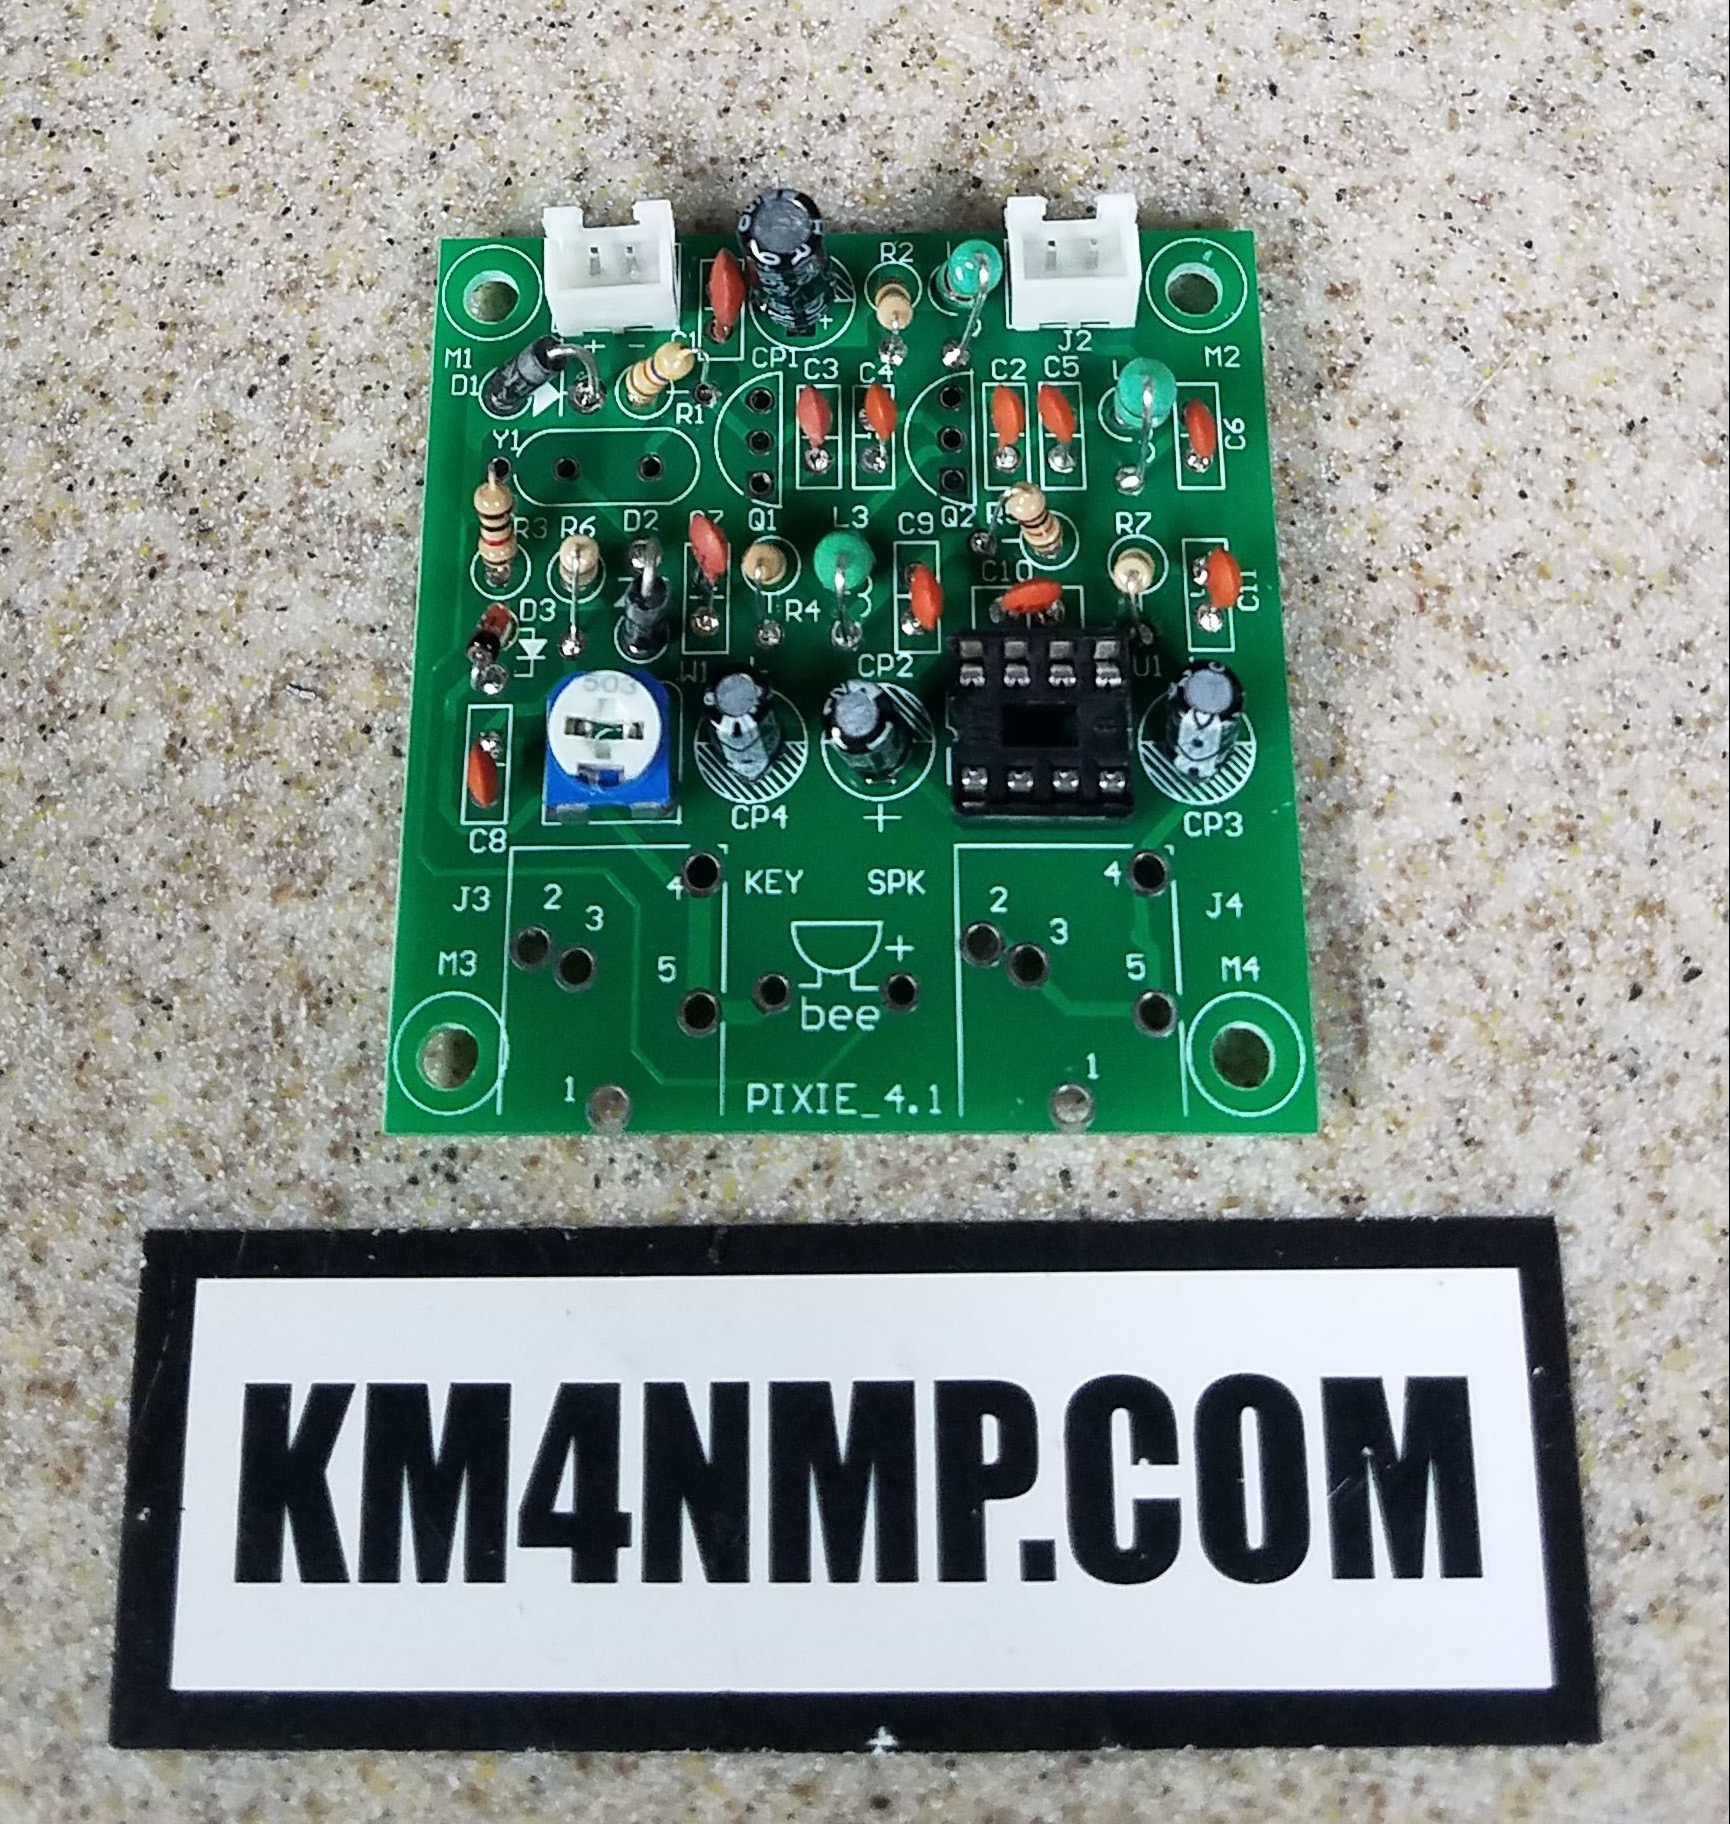
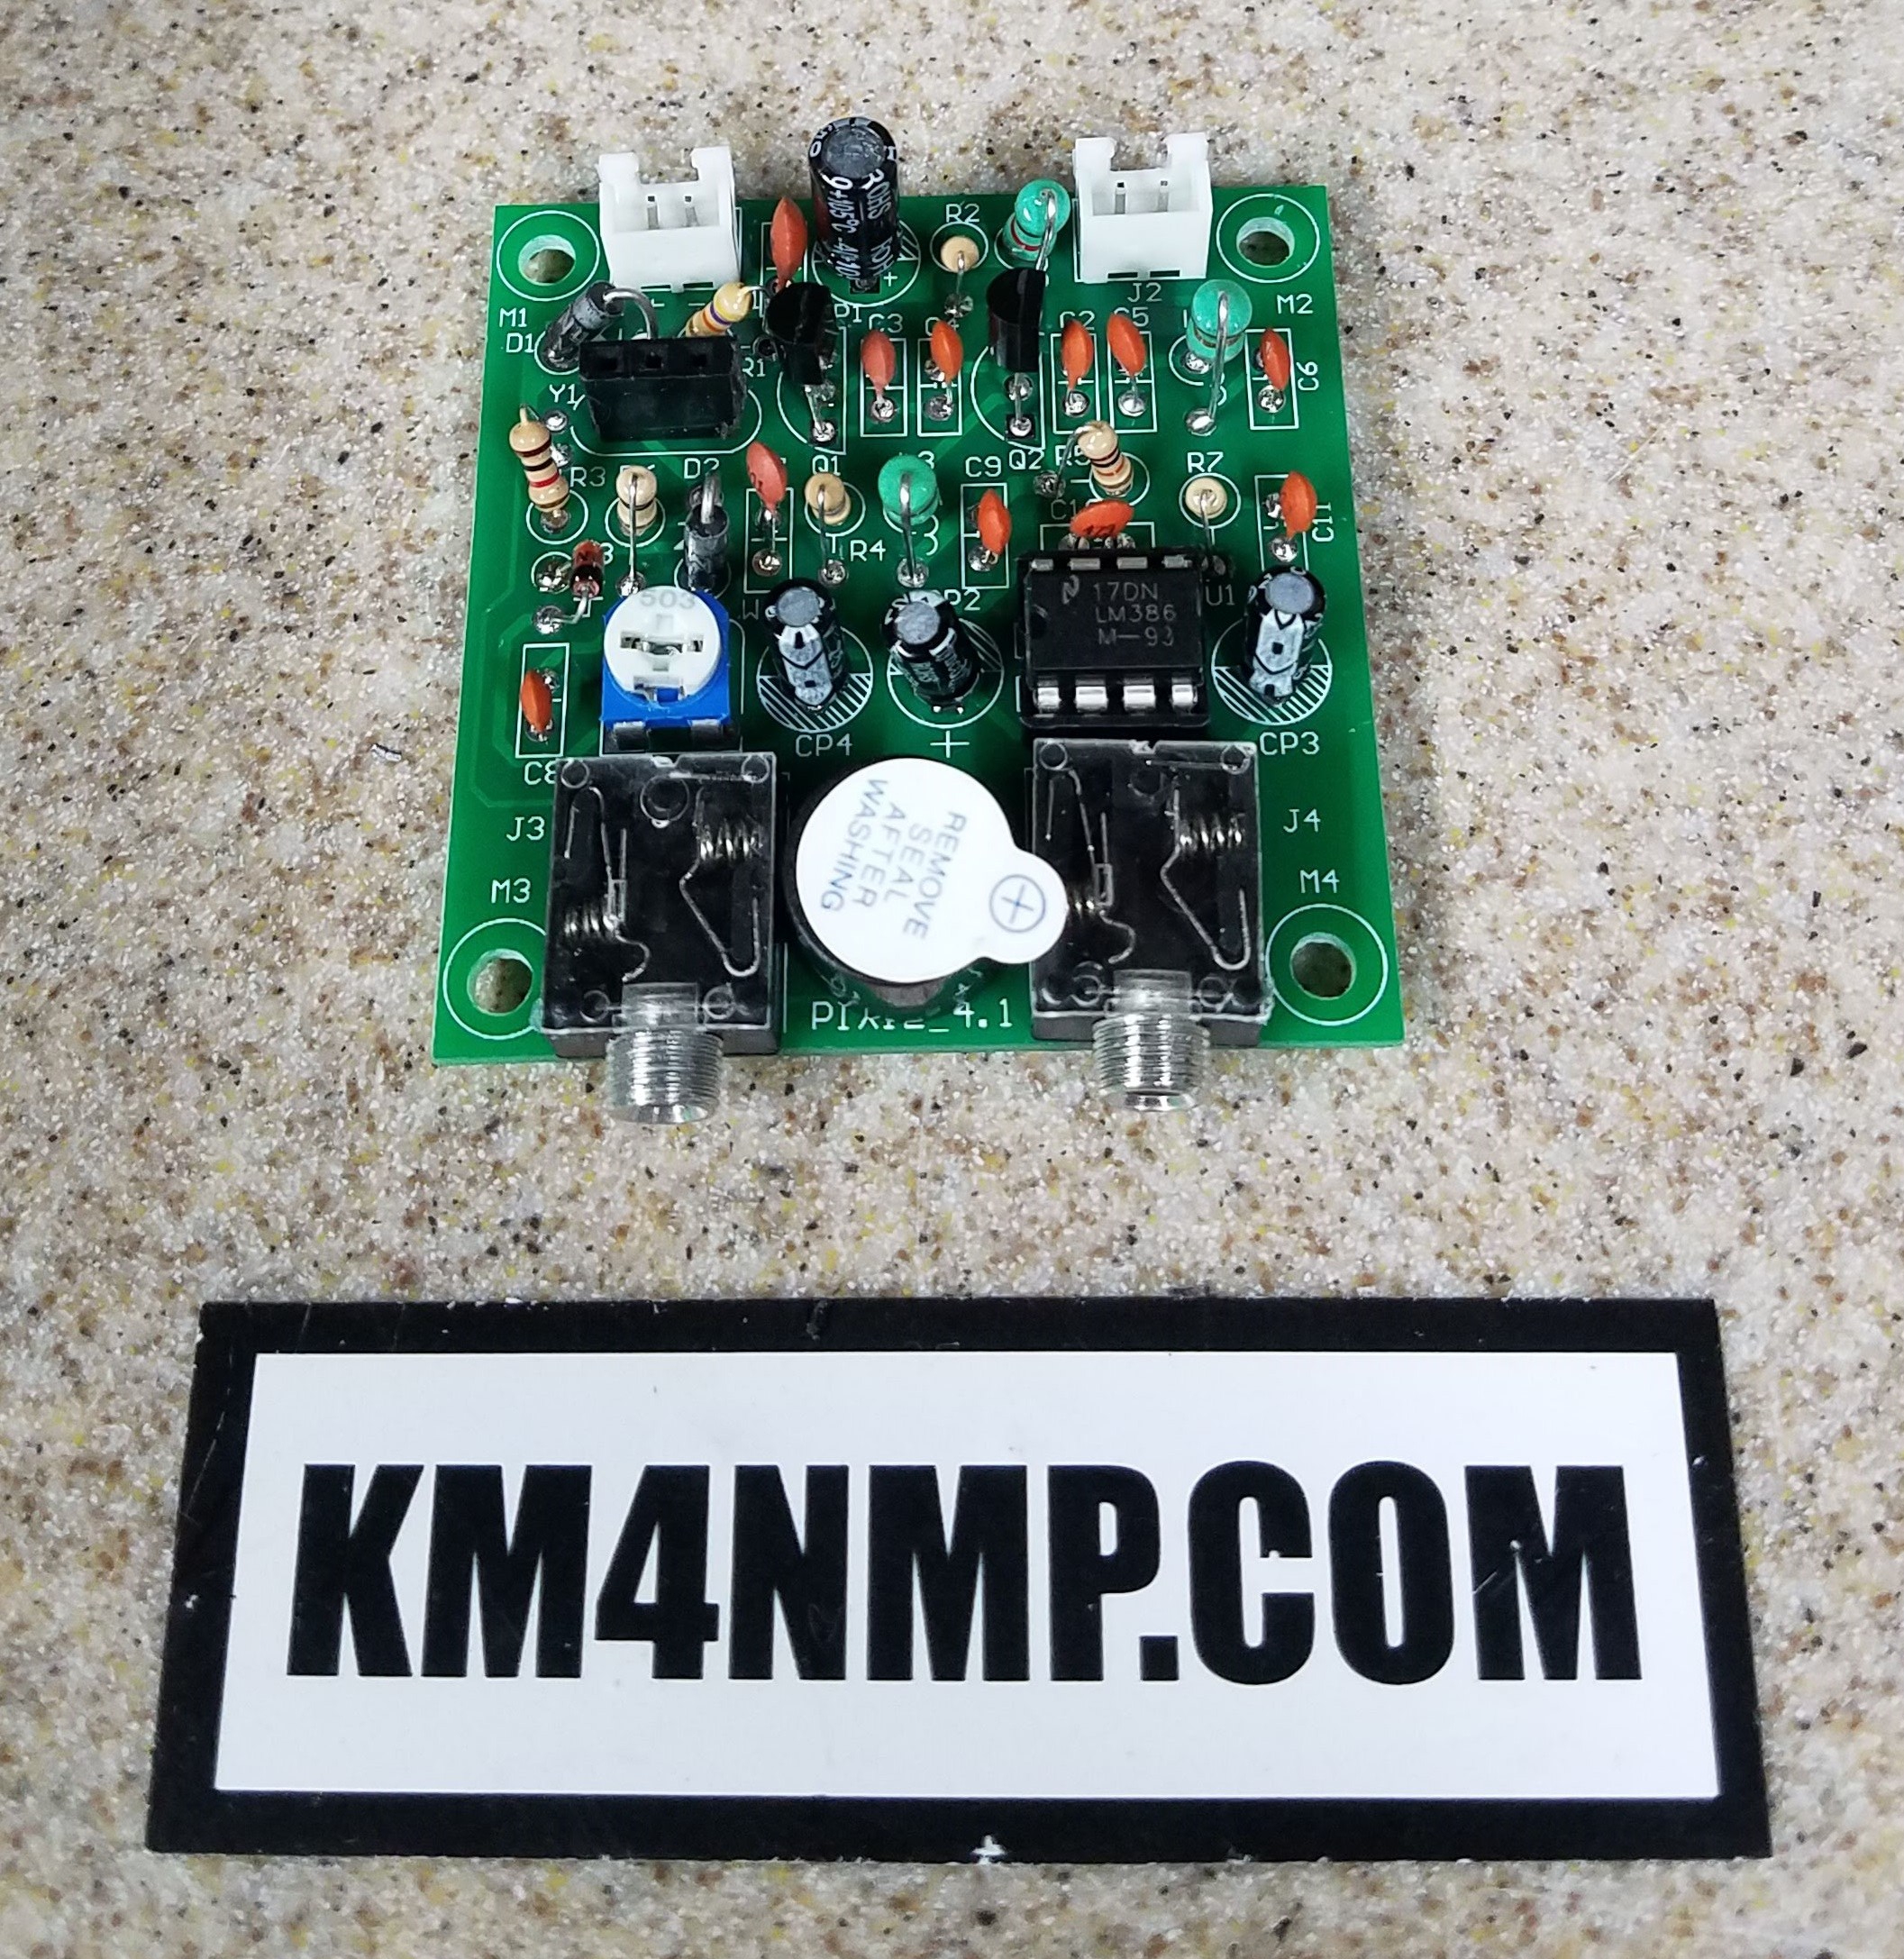
In the previous post we unpacked the 40m Pixie Transceiver. Today we will be assembling it. Having all the parts sorted makes it much easier to put this together. Building the project is relatively easy. Look the value up for each part designated on the pcb board and solder it in place.

The list provided with the pixie was not the best but most values could be made out.
Advertisements
I like to start out with resistors. If you don’t know the color code for the resistor, do a quick internet search or test them with a multimeter.
The capacitors are mark with a number. This number corresponds to the value. This is easily referenced from the paperwork provided.
Advertisements
When installing diodes pay attention to the polarity. The side with the stripe is negative. The socket for the amplifier has a half moon on one side. Match this with the half moon on the pcb.
I like to work from smaller parts to bigger. If you do the bigger parts first, it is a lot harder to solder the smaller parts in place.
Advertisements
Inductors have a color code like resistors. If you do not know the color code you can find it with an internet search.
The electrolytic capacitors are polarity sensitive. If installed backwards they will get damaged.
Advertisements
I did not solder the crystal to the pcb. Instead, a socket was installed so the crystal can easily be changed.
Since the manufacture forgot the 3.5mm jacks, I took them out of the second kit I bought. The manufacture has been emailed about the missing parts.
Advertisements
Over all this was a fun little build. This can easily be built in a couple hours.
The Pixie came with a 50 ohm resistor for a dummy load. This is place on the antenne terminals during testing.
Advertisements

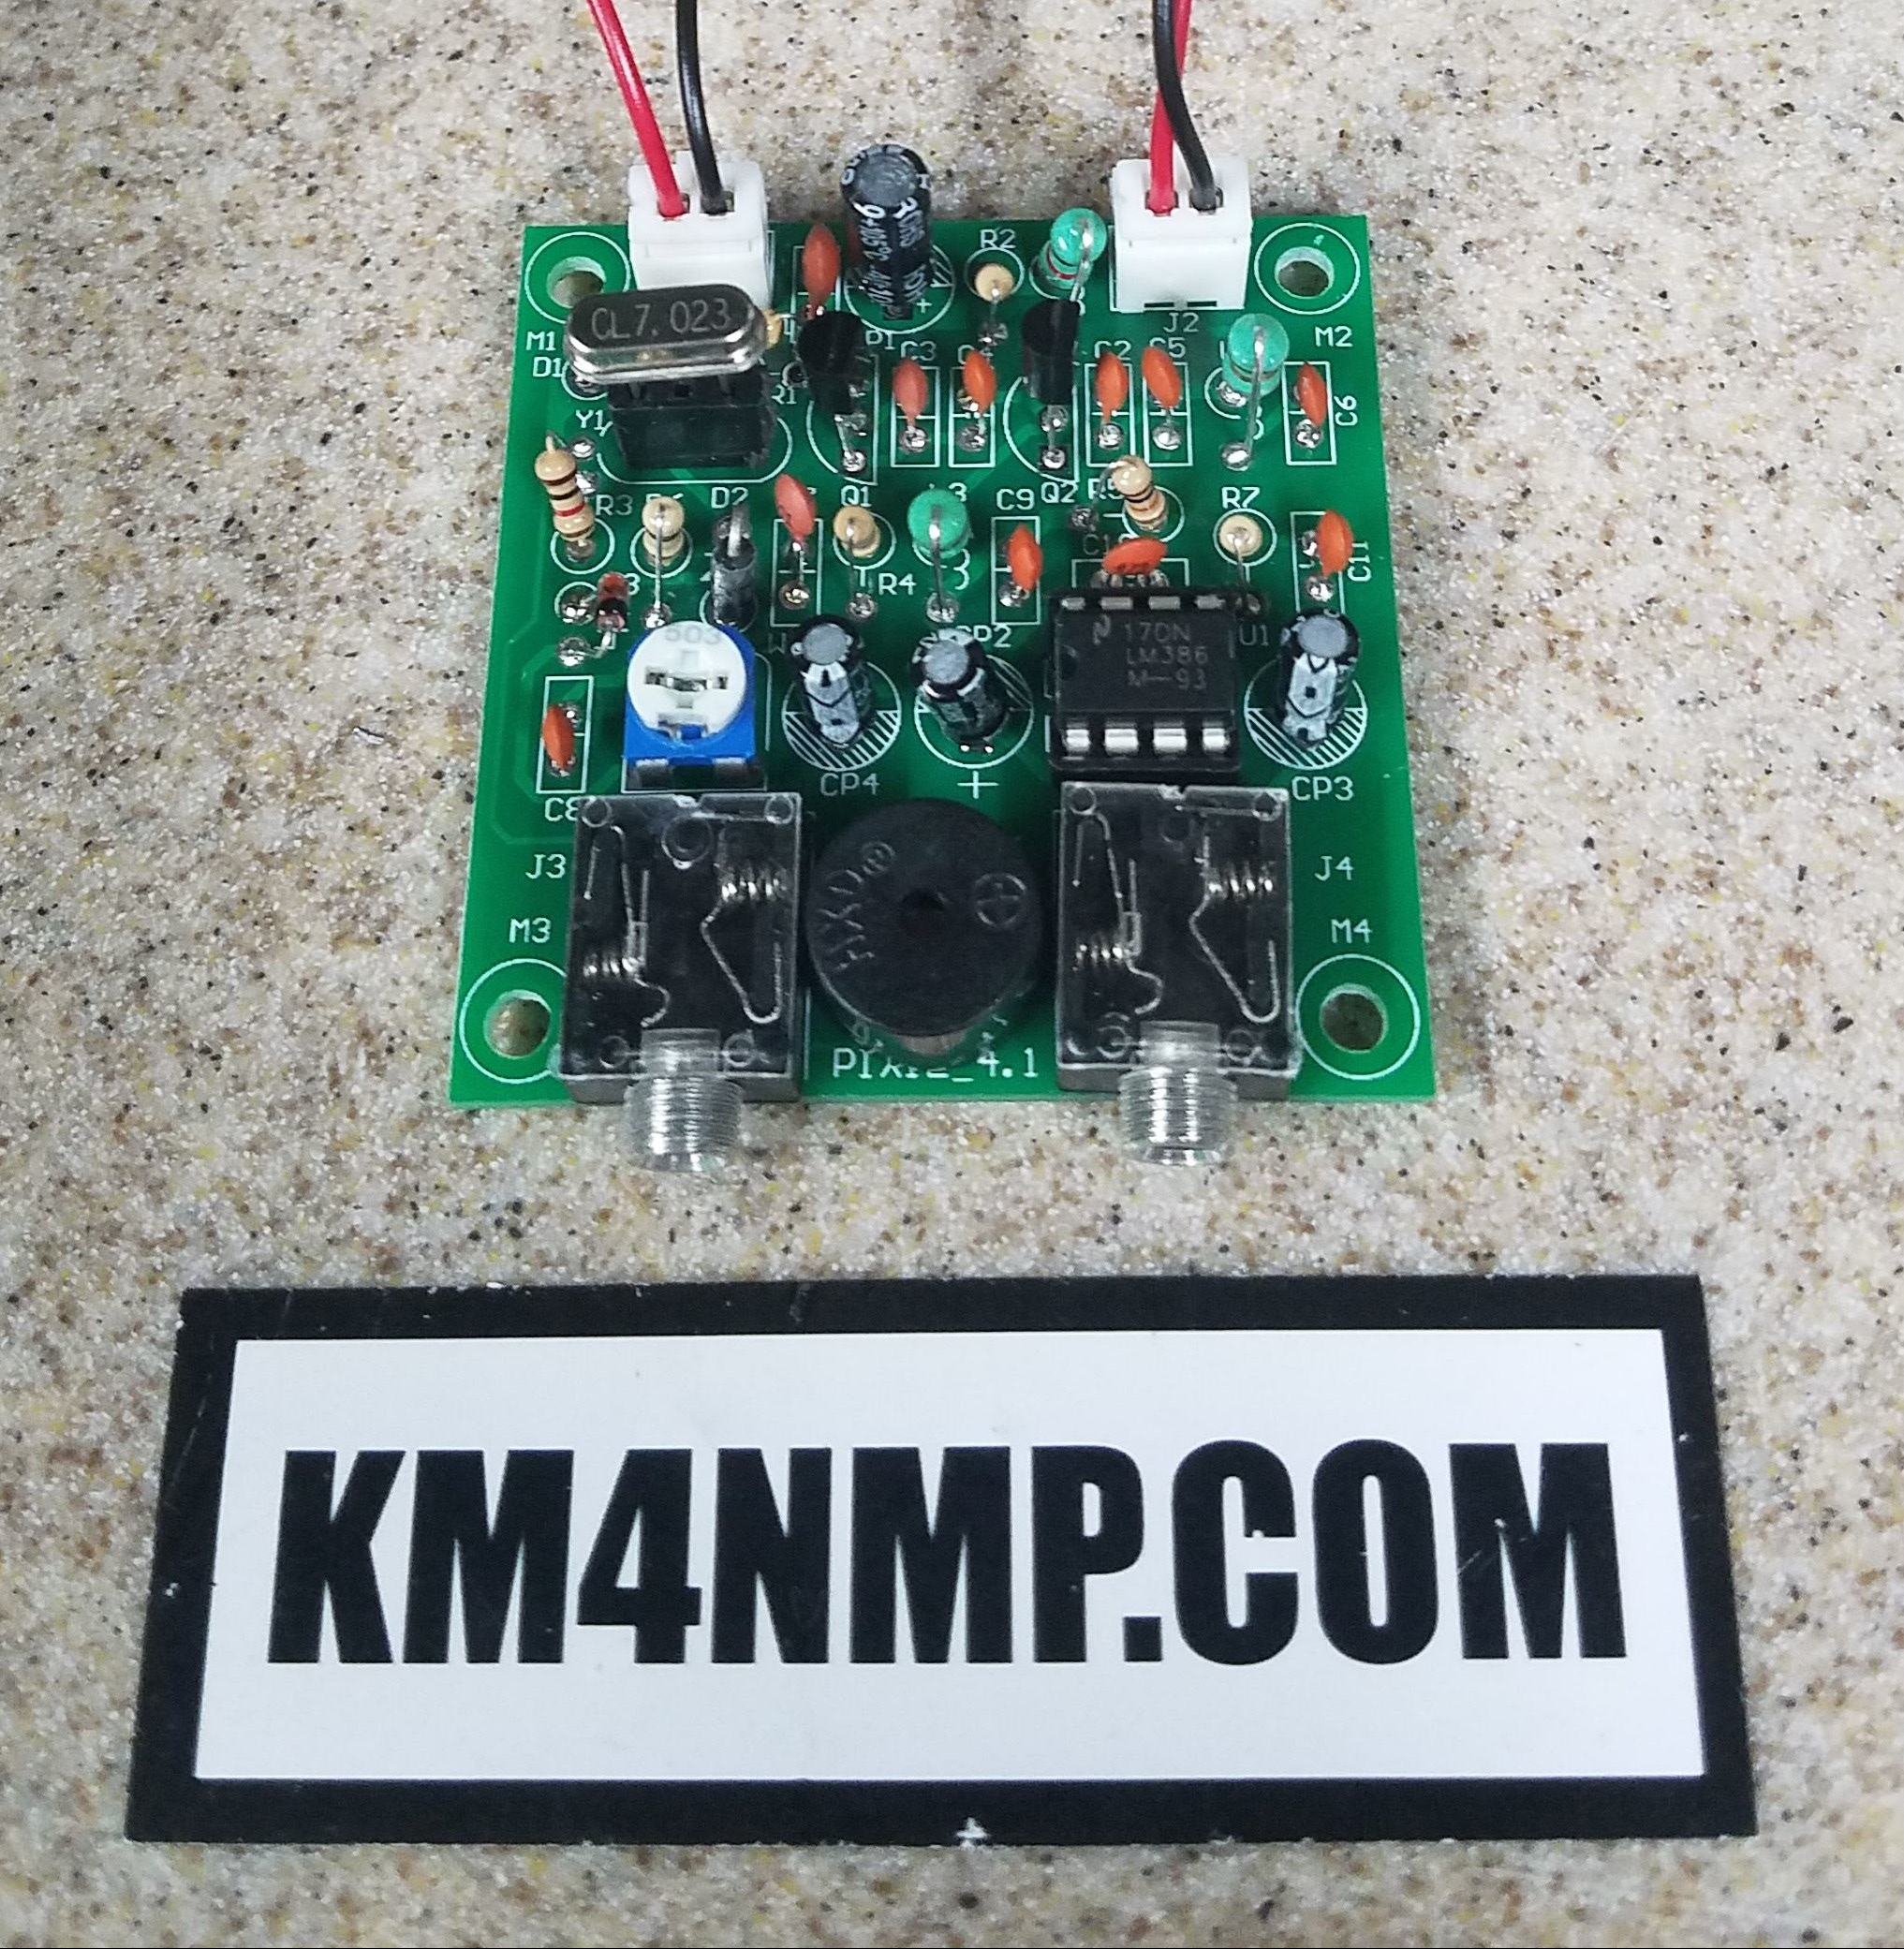
Power options are being explored and testing still needs to be done. I would like to have several options for power. This pixie is capable of being powered 9-12 volts dc. Once testing is complete and a case designed and updated post will be made.

Links

https://km4nmp.com/2019/07/31/unpacking-the-40m-pixie/

Latest Posts

6 thoughts on “Assembling the 40m Pixie

  1. Nicely done, looks like a fun build – looking forward to hearing about testing.
    73 de AB1DQ/James

    Liked by 1 person

Leave a Reply

Fill in your details below or click an icon to log in:

WordPress.com Logo

You are commenting using your WordPress.com account. Log Out /  Change )

Facebook photo

You are commenting using your Facebook account. Log Out /  Change )

Connecting to %s

This site uses Akismet to reduce spam. Learn how your comment data is processed.

%d bloggers like this:
search previous next tag category expand menu location phone mail time cart zoom edit close