This week, I wanted to finish a project that has been sitting on the final testing bench. In a past post, we built a RCS-10 remote antenna switch controller. The controller used the Arduino Mega to activate 3 relays that send a signal to the remote antenna switch. No bugs were found during testing; so, only minor modifications and mounting in a case are needed.

To house the electronics, I found an old siren control box. The aluminum housing is rugged and has plenty of room for the electronics.

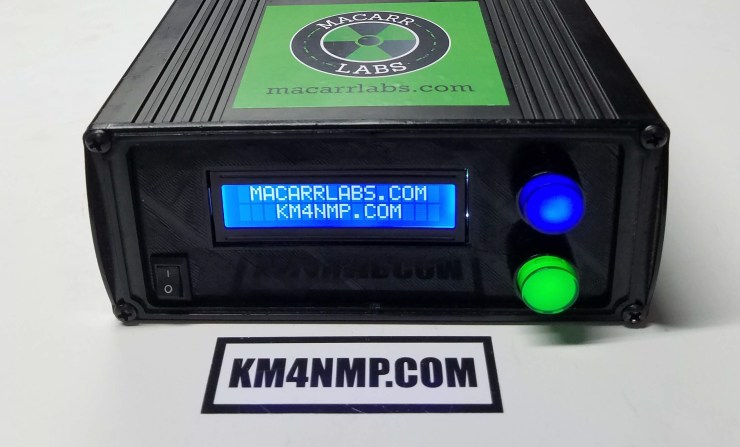
The front part of the case was removed. A new face plate will be made to house the LCD screen and control buttons.
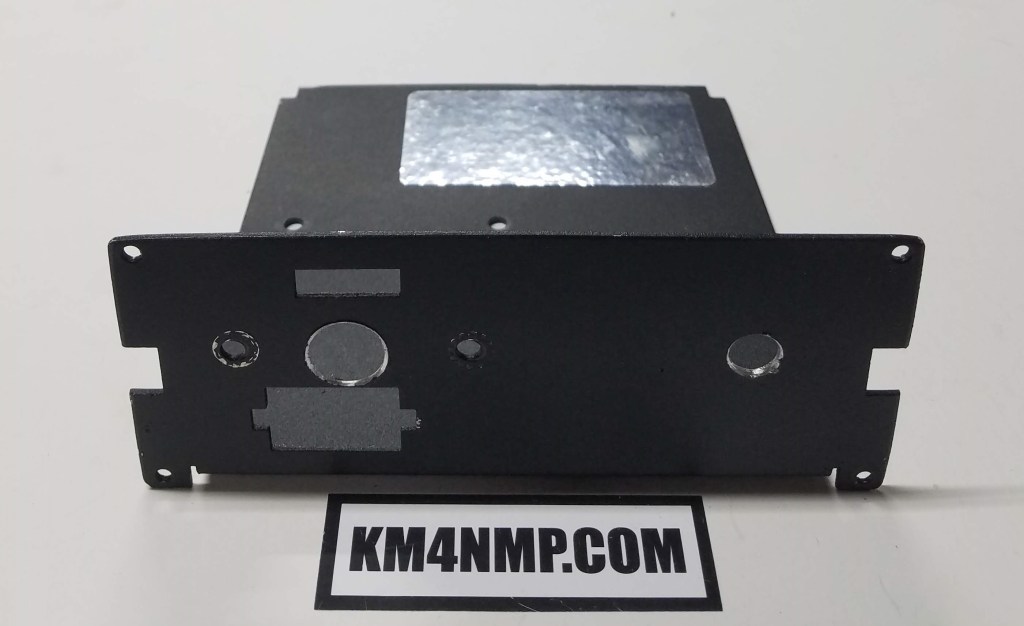
On the rear, holes were drilled to accommodate the power and terminals for exterior wiring. Although not pictured a hole was added for the ground terminal.
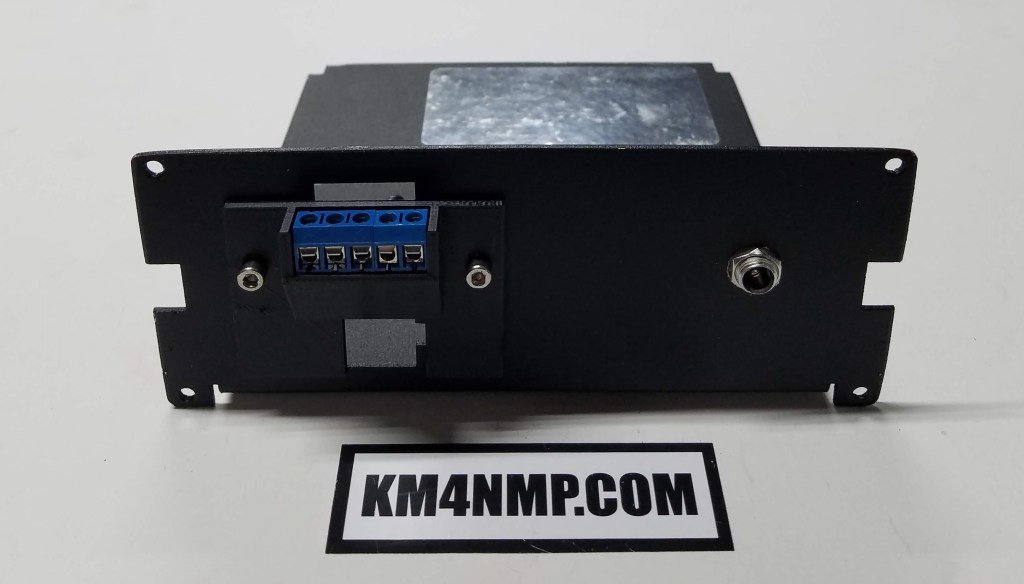
The terminals are installed in a bracket to bring them away from the case. This will make it easier to install and remove wiring. Under the terminals, a square hole is left for the Arduino USB port. A standard 12V dc port is installed for power.

Macarr Labs printed out the mounting brackets and face plate. The Arduino Mega bracket is a standard bracket printed out for the Mega. The face plate was designed for this application.

This is the schematic used for connecting the Arduino Mega. The wiring for the LCD is not shown. The LCD used for this project connects using I2C. For the Arduino Sketch refer to the original post. RCS-10 Arduino Controller
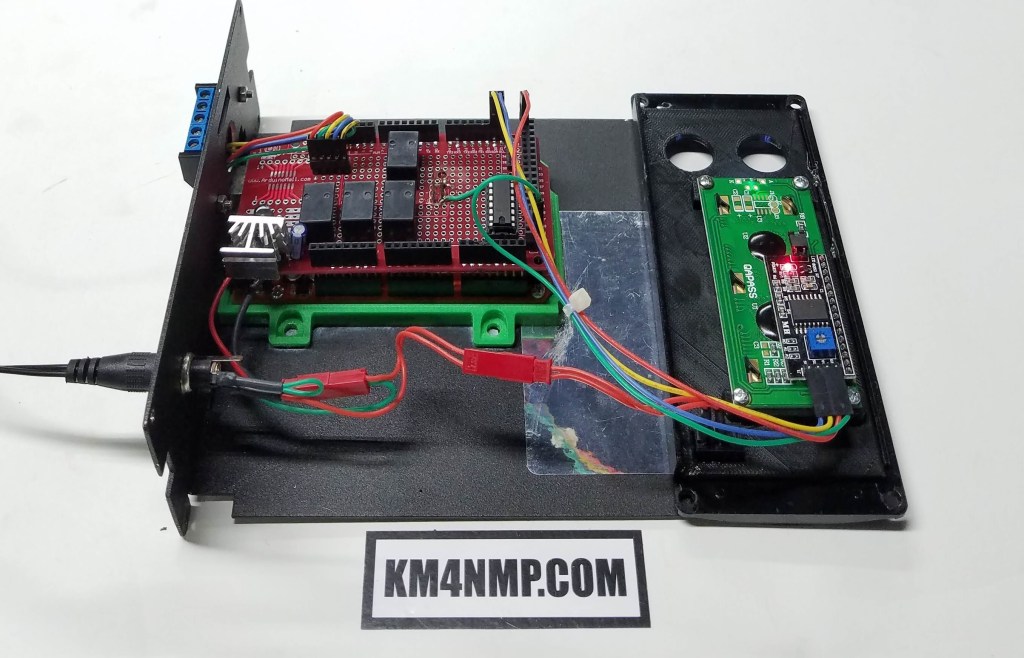
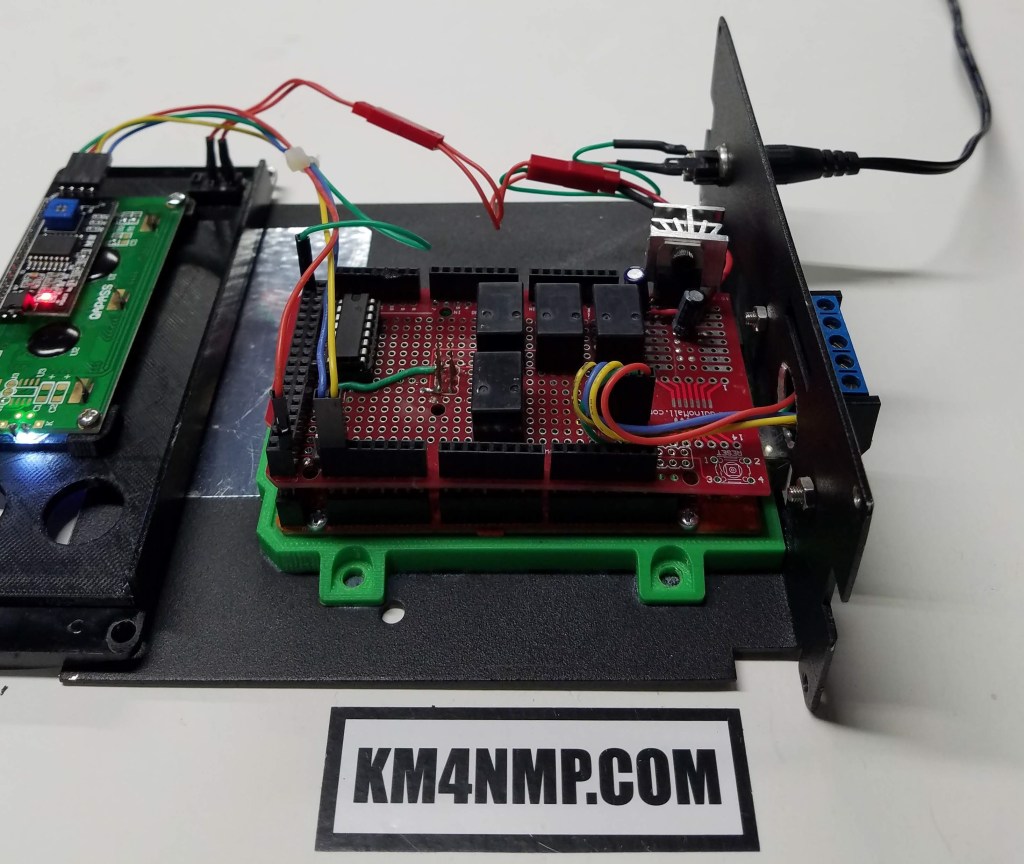
All wiring is connected using plugs and connectors. This will make repairs easier if they are ever needed in the future.

The buttons were last to go in. When ordering the buttons, I did not realize they had a LED built inside them. This was a nice surprise. In the future I may make the brightness of the LED’s adjustable.
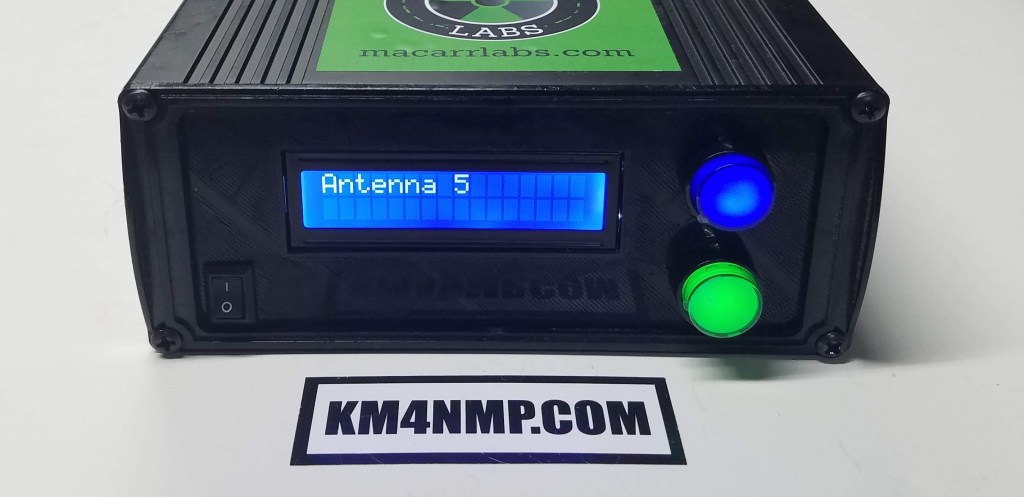
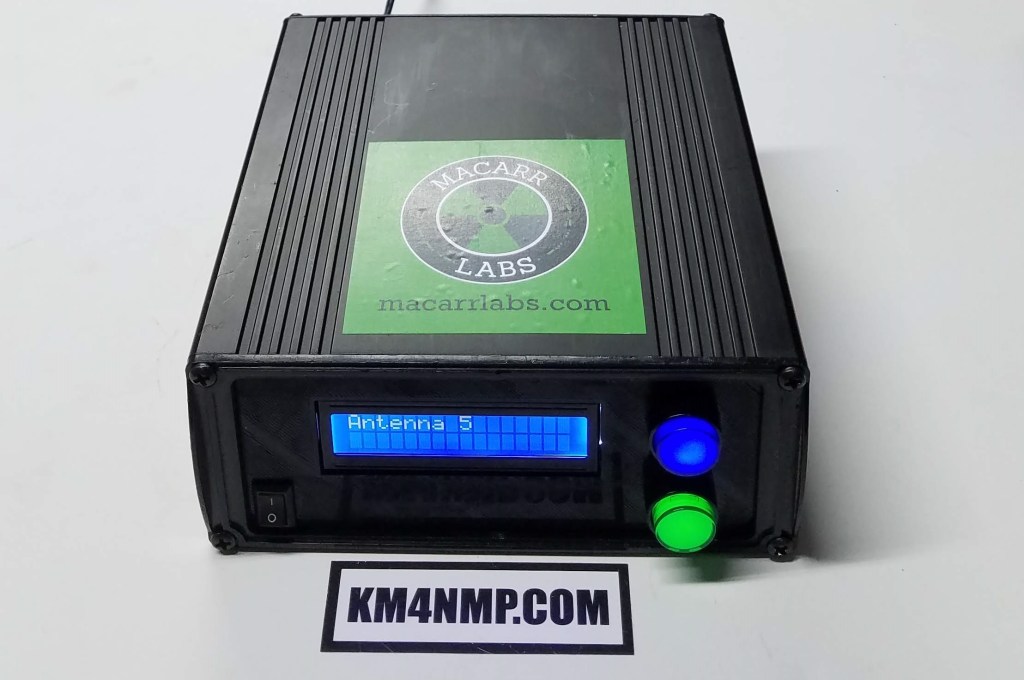
The controller is now ready for real world testing. It will installed on my main transceiver. A future post will be made after further testing.
Links
https://km4nmp.com/2019/06/15/rcs-10-arduino-controller-pt2/
https://km4nmp.com/2019/06/08/rcs-10-arduino-controller/
https://km4nmp.com/2019/06/01/arduino-mega-relays-controlled-by-push-buttons/
Latest Posts
- 2:1 Balun For 2m/6m
- 1:1 Choke For 2m and 6m
- 2m Delta Loop Ver 2
- 2m Delta Loop
- Finishing The 6m Delta Loop With 2:1 Balun


2 thoughts on “Finishing the RCS-10 Arduino Controller.”