Today, we will be terminating a coax that is closer to what most typical Amateur Operators would use. LMR-600 is a flexible low loss coax that can be used for many applications. At 30 MHz, the loss is .5 dB/100′ (1.7 dB/100m) and can handle 4.59 kW of average power. The bend radius of this cable is 1.5″ (38mm) for installed bends and 6″ (152mm) for repeated bends.
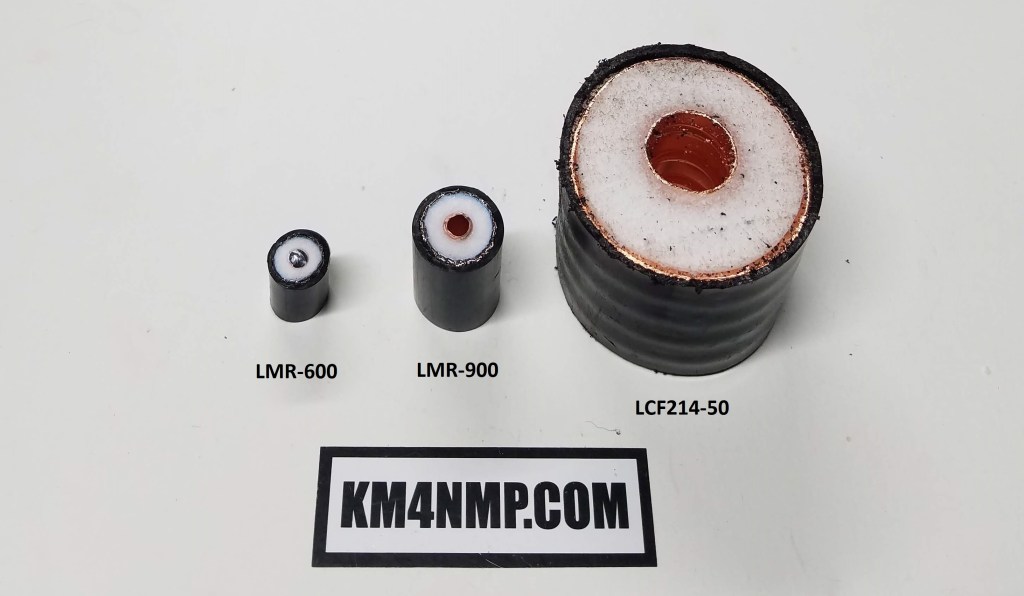
The picture above was taken to show the size difference of other cables we have terminated. The LMR-600 is just small enough to fit inside the center conductor of the LCF214-50. Another noticeable difference is the LMR-600 has a solid inner conductor.
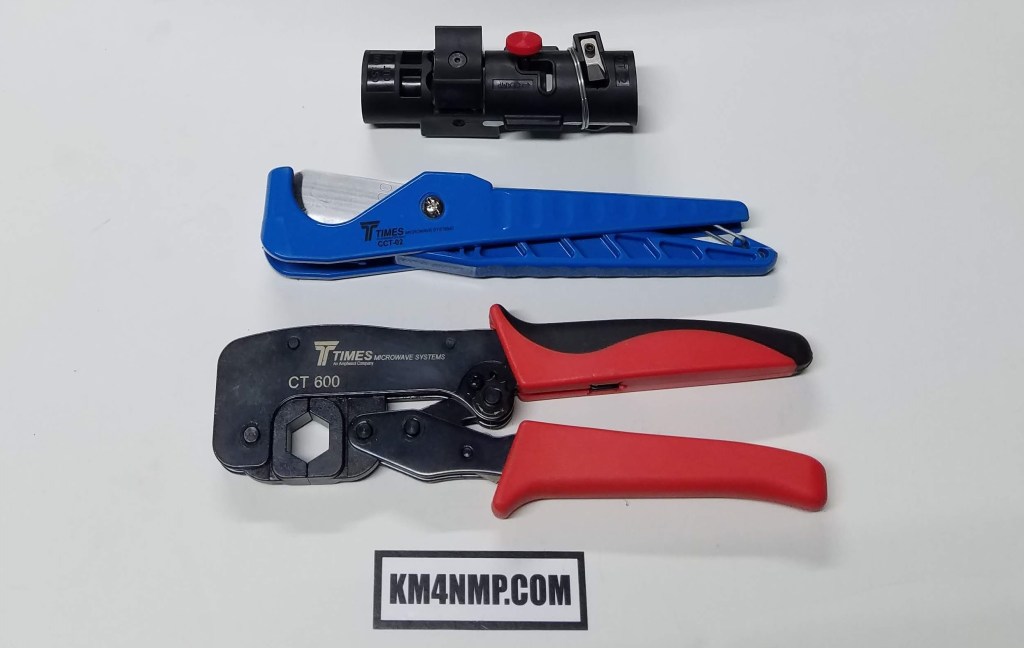
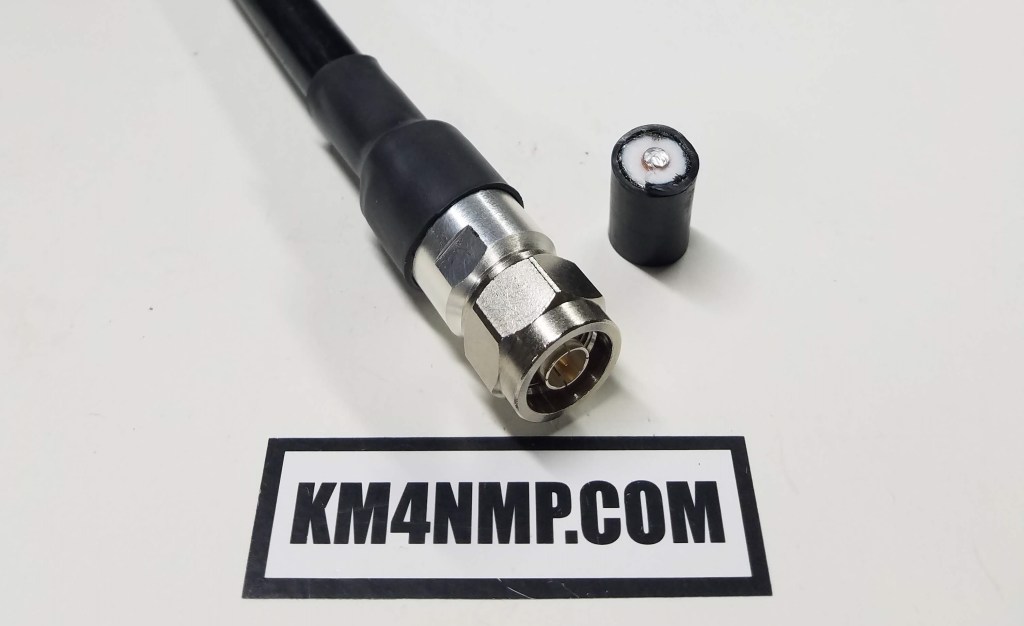
Using the tools made to terminate the LMR-600 makes easy work of the termination. The cable strip tool is not necessary but if used saves time and frustration. If you do not want to spend extra on the strip tool, the strip lengths are listed on the connectors packing. The connector in today’s post is a clamp style connector and does not require the crimp tool. There is a little more room for error and the connector is sealed better.

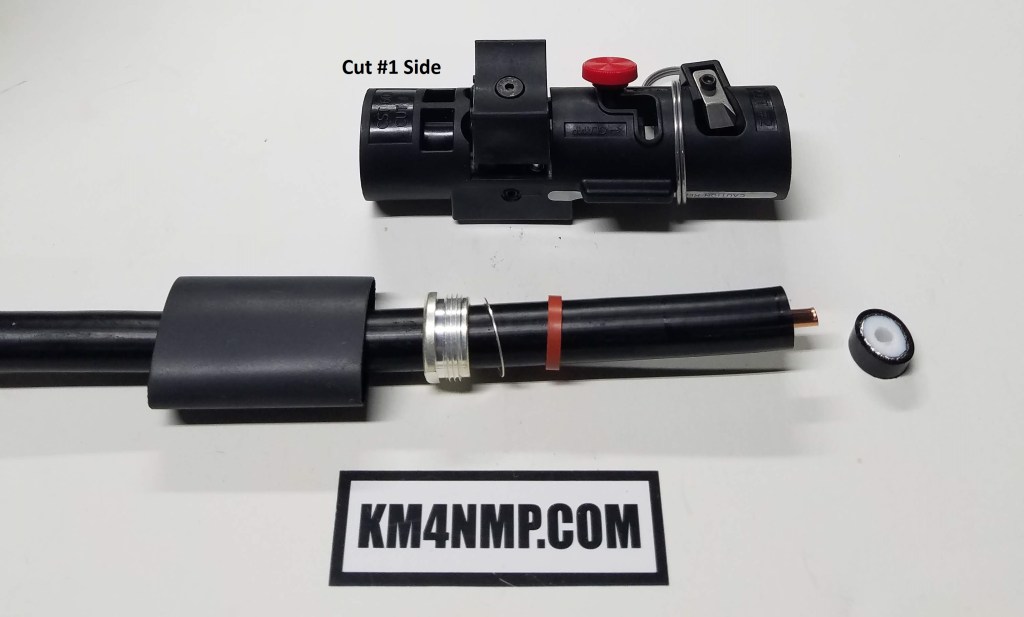
Before stripping the cable, unpack the connector. I like to lay each piece out in the order they are installed on the cable.
Make a nice flush cut at the end of the coax. Place the Heat shrink, Lock Nut, Washer, and gasket on the coax.
Use the side of the strip tool that has the blade you press on first. Insert the coax and put pressure on the blade. Spin it around 3 or more times. Pull the coax out of the stripper and remove cut piece.
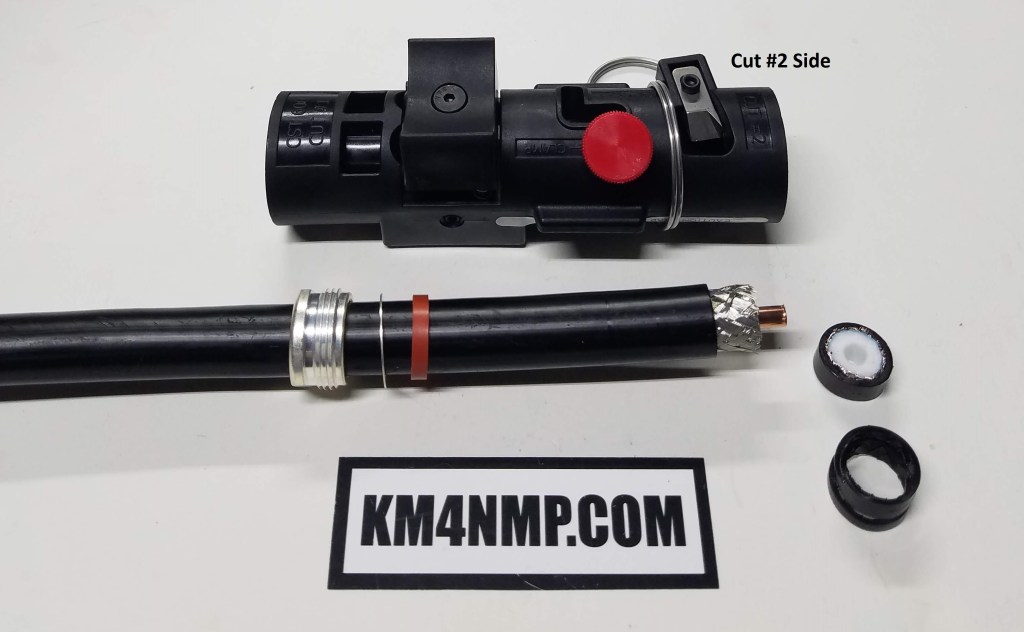
Before you insert the cable in the other side of the stripper, verify the red knob is in the proper position for the style of connector you are using. There is a setting for clamp and crimp. Insert the cable and spin the stripper until the cable bottoms out and the jacket fully cuts lose.
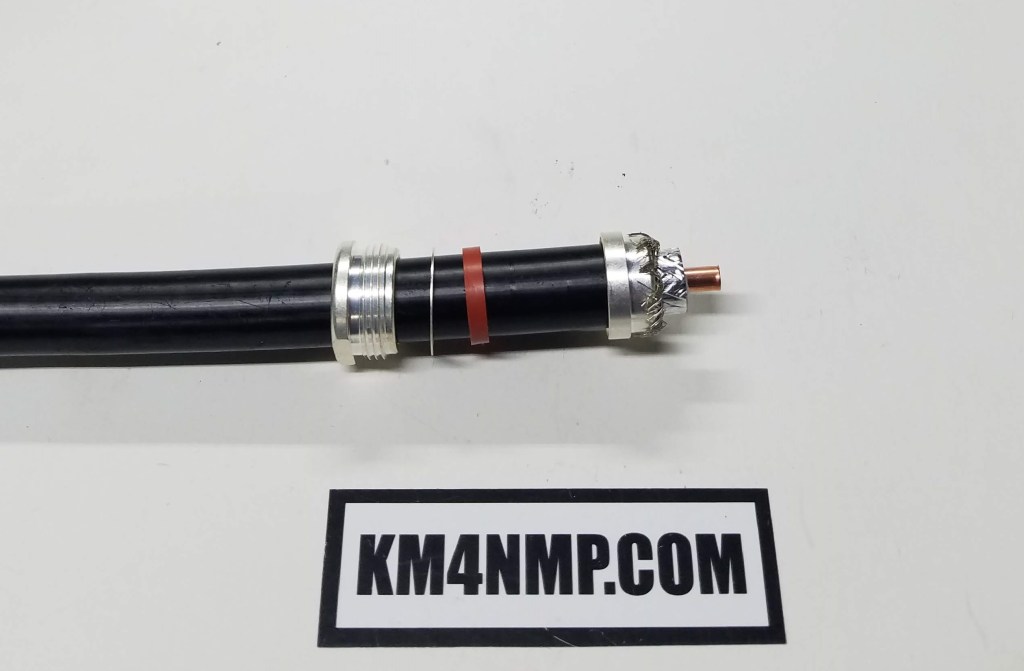
Place the braid clamp over the braid and up to the jacket. Fold the braid over the braid clamp. If your braid goes past the notch on the clamp, trim it.
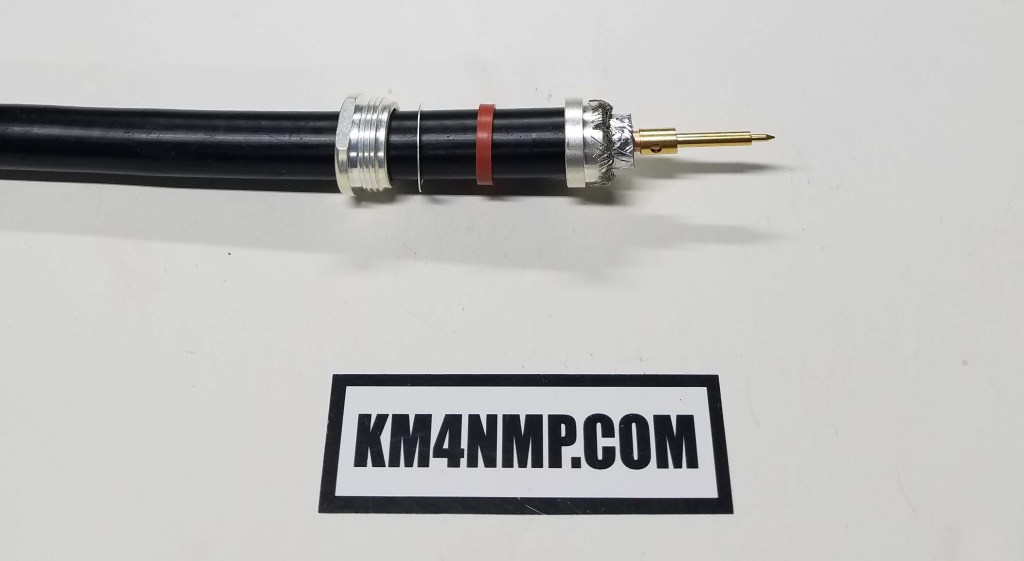
Solder the center pin in place.
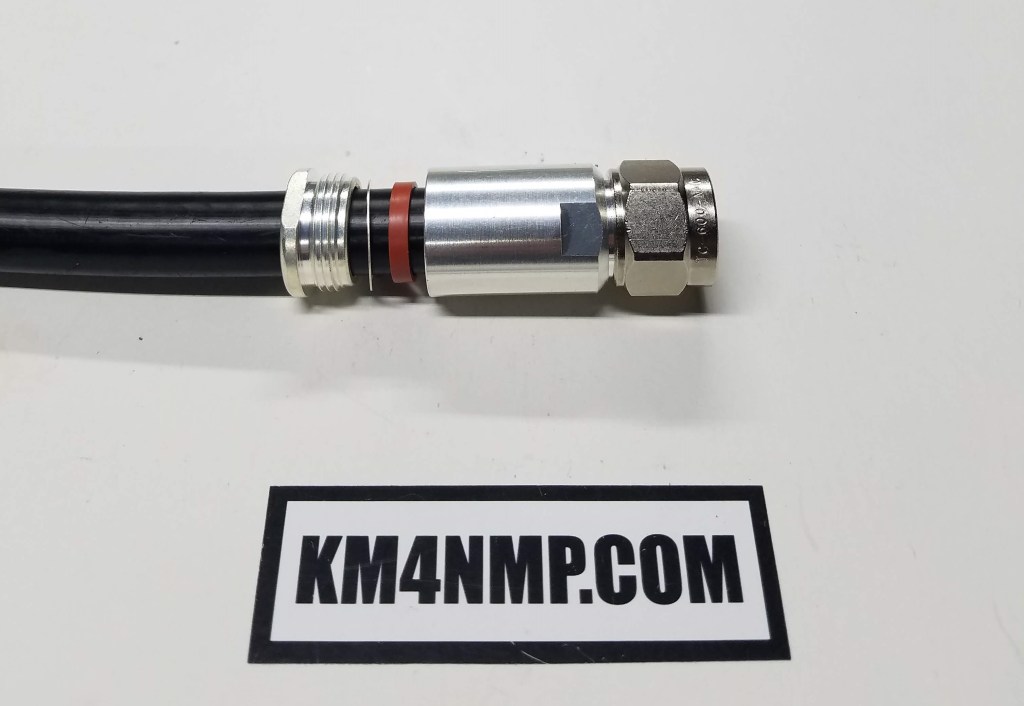
Install the connector body over the prepped end. The center pin should almost be flush with the end of the connector.
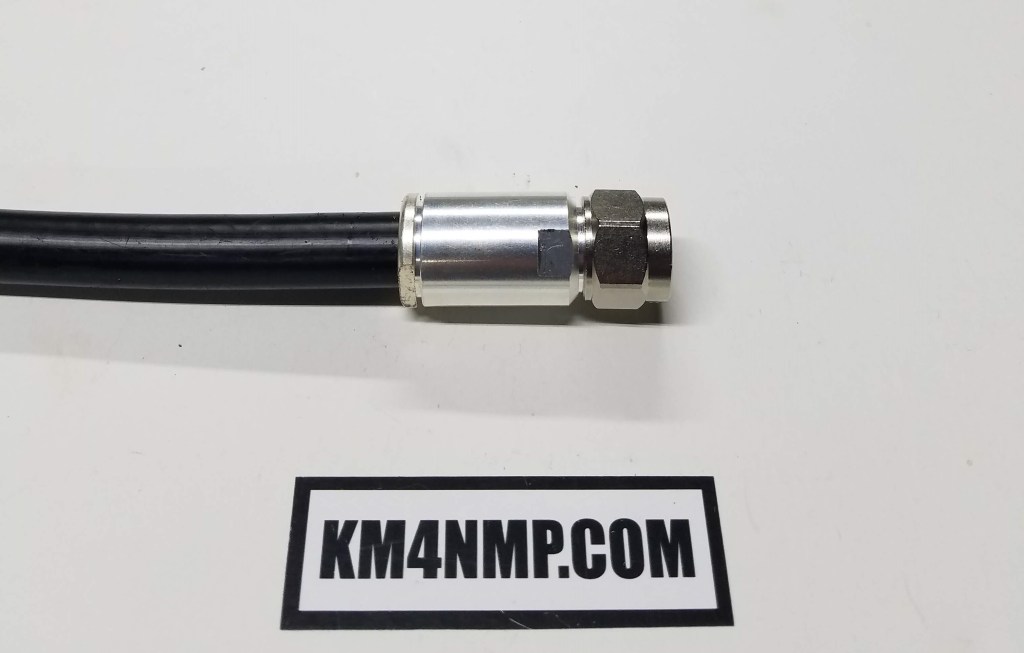
Tighten and torque the connector to 80 lbs-in.
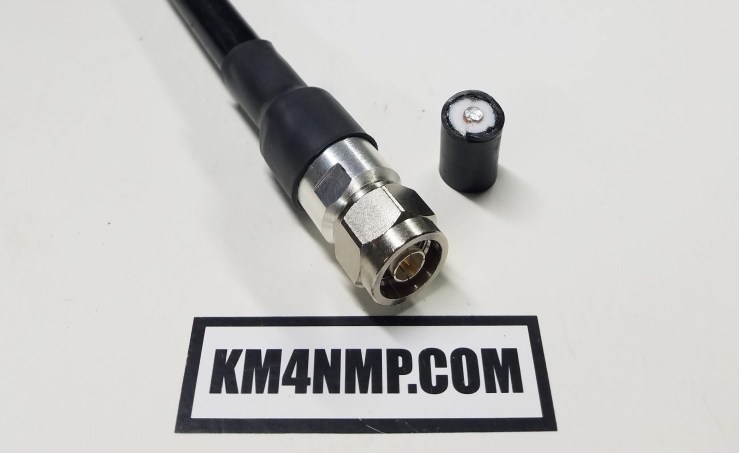
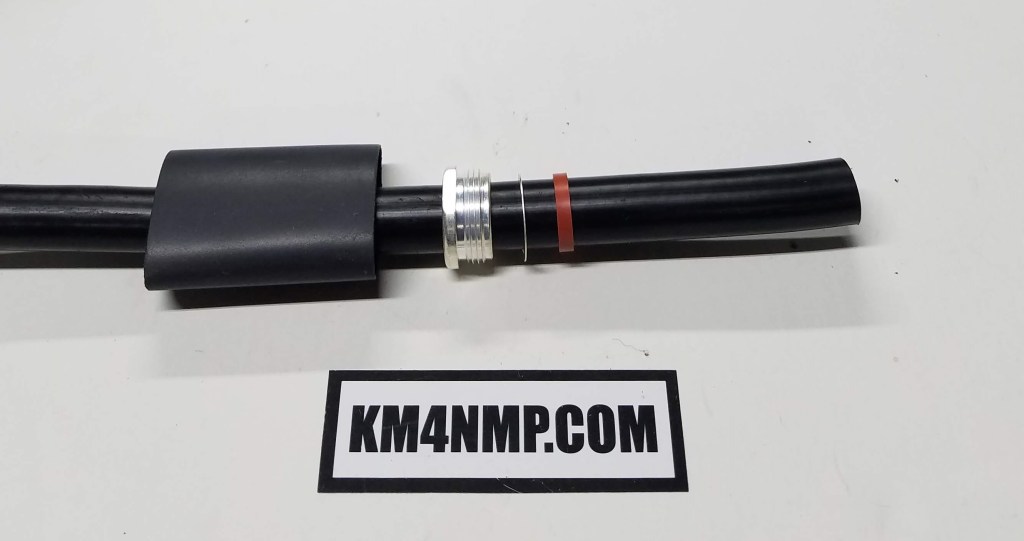
After you tighten the connector body, slide the heat shrink over the back of the connector. Use a heat gun to shrink the heat shrink over the body of the connector and the cable. If you are using this connector exposed to the weather, it is a good idea to seal the whole connection with a couple layers of rubberized tape and then at least 2 layers of a good electrical tape.
Links
Click to access LMR-600-UF.pdf
https://km4nmp.com/2019/12/08/terminating-lcf214-50/
https://km4nmp.com/2019/12/07/terminating-lmr-900/
Latest Post
- 2:1 Balun For 2m/6m
- 1:1 Choke For 2m and 6m
- 2m Delta Loop Ver 2
- 2m Delta Loop
- Finishing The 6m Delta Loop With 2:1 Balun

