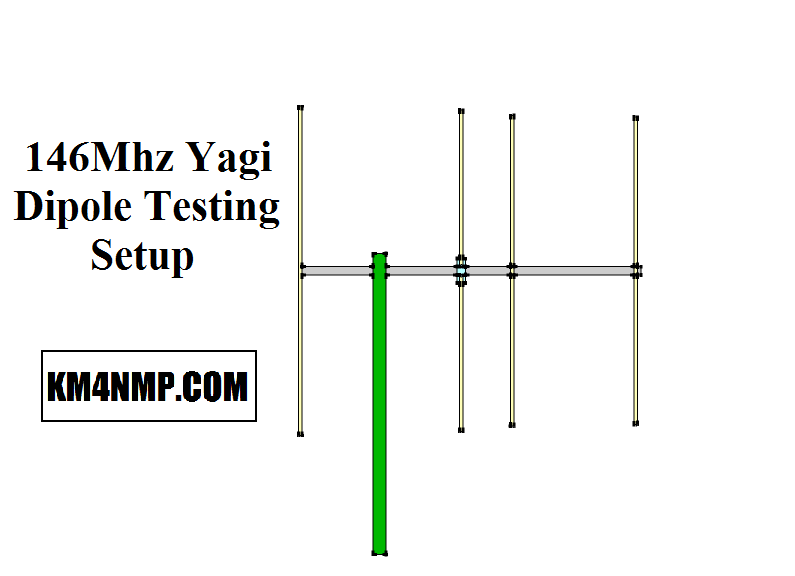
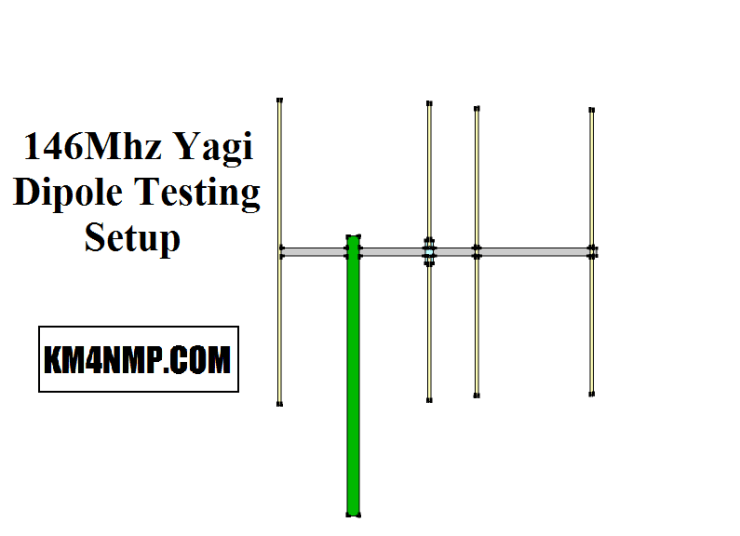
There are a several ways to construct yagi antennas. One main difference is the radiating element. To experiment with different radiating elements, I am building a yagi that is easily reconfigured. This will make it possible to test different dipoles and see how they perform under real world conditions.
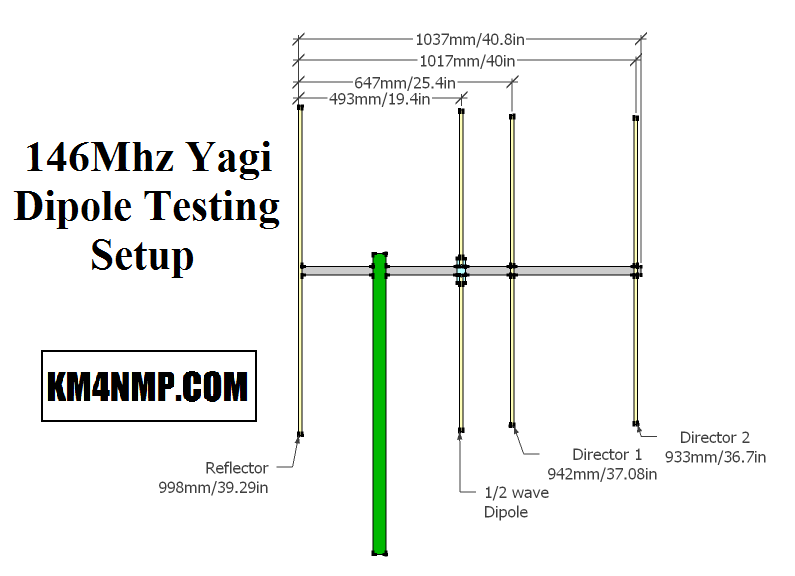
The reflector and director length were calculated using an online Yagi Calculator. The distance between the elements is also listed in the calculator. This will be used as a starting point and can be adjusted.
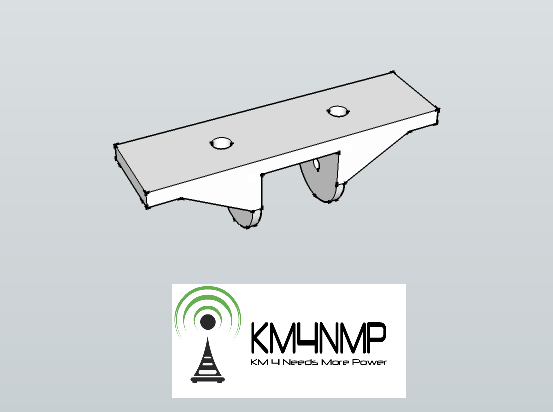

The boom and elements will be constructed from salvaged tv antenna parts. For the mast, I am hoping to obtain some fiberglass poles. As this project makes progress updates will be made.
Links
https://en.wikipedia.org/wiki/Yagi%E2%80%93Uda_antenna
https://www.amateur-radio-wiki.net/index.php?title=Yagi_antenna
Latest Posts
- 2:1 Balun For 2m/6m
- 1:1 Choke For 2m and 6m
- 2m Delta Loop Ver 2
- 2m Delta Loop
- Finishing The 6m Delta Loop With 2:1 Balun


2 thoughts on “146 Mhz Yagi Dipole Testing Setup”