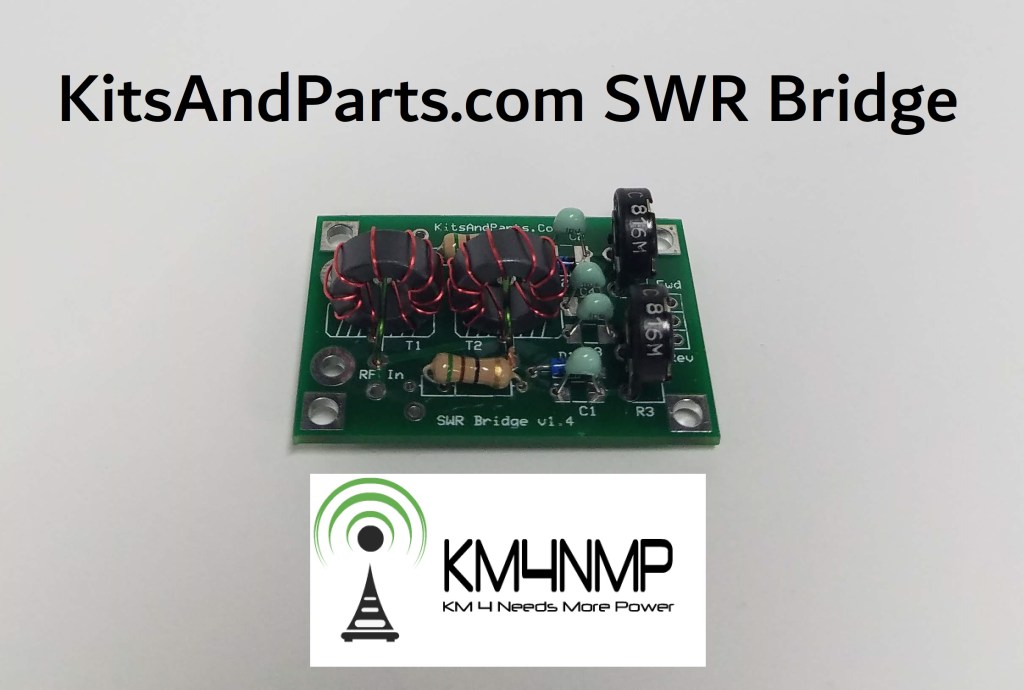
The Universal SWR Bridge V1.4 by KitsAndParts.com is a kit to get you started on your own home brew SWR meter. This kit has only the SWR bridge and requires Meters or other electronics to calculate and display the information. This kit is capable of operating between 1.8 – 30 MHz. The documentation states it is capable of 100 Watts intermittently. Two kits were purchased for testing purposes. If all goes well, they will be integrated into Ubitx V5 projects.
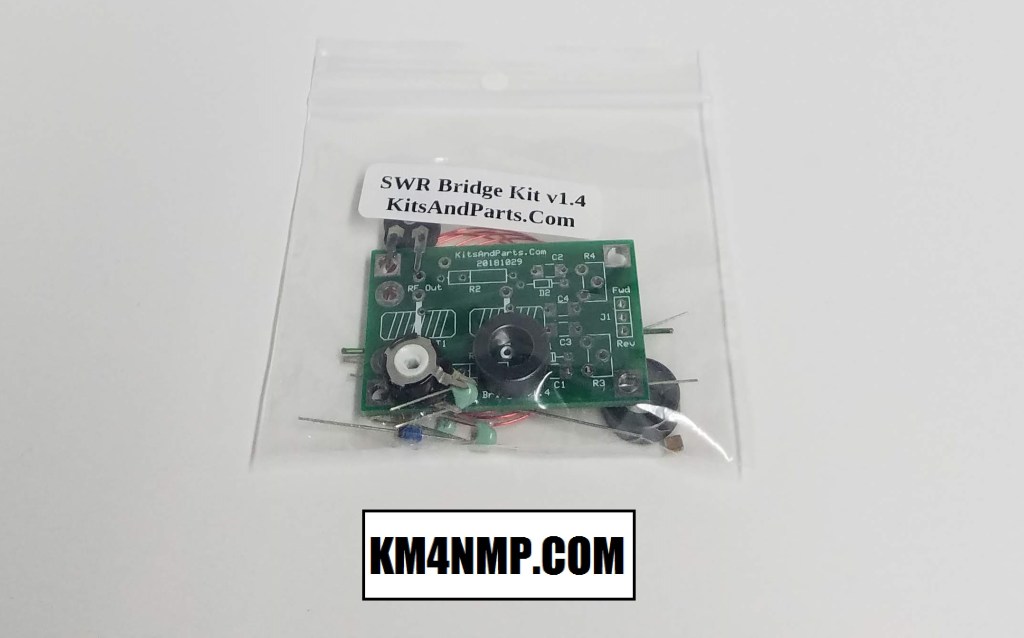
KitsAndParts.com packed the kits well without to much packaging. Also most of the shipping material was cardboard and paper. The bag containing the parts was a small resealable plastic bag.
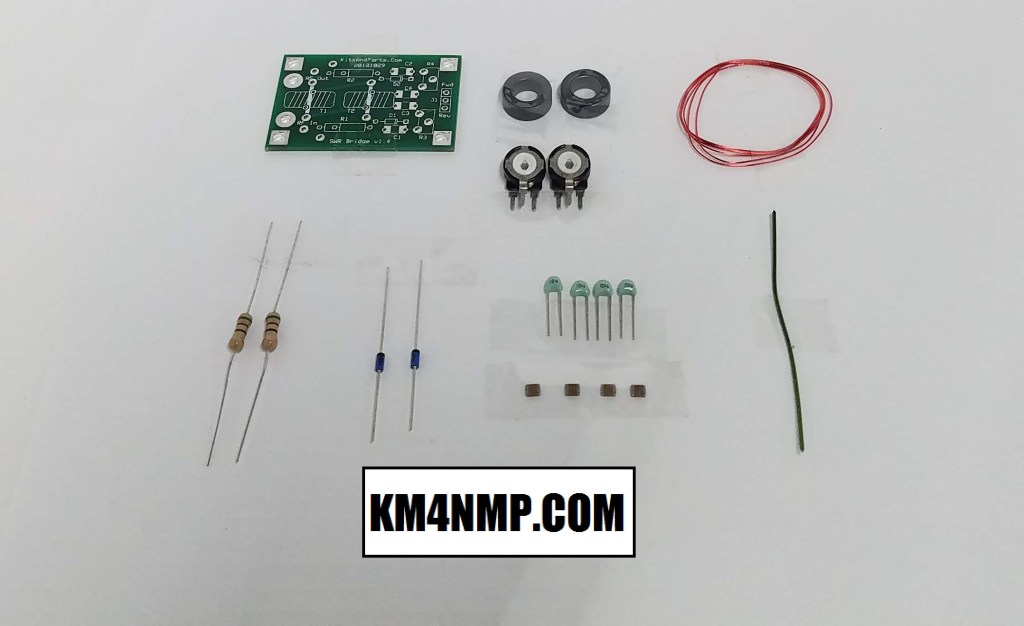
Before assembling, I like to lay everything out and make sure no parts are missing. Use clear tape and tape the components to a piece of paper so they are not lost during assembly.
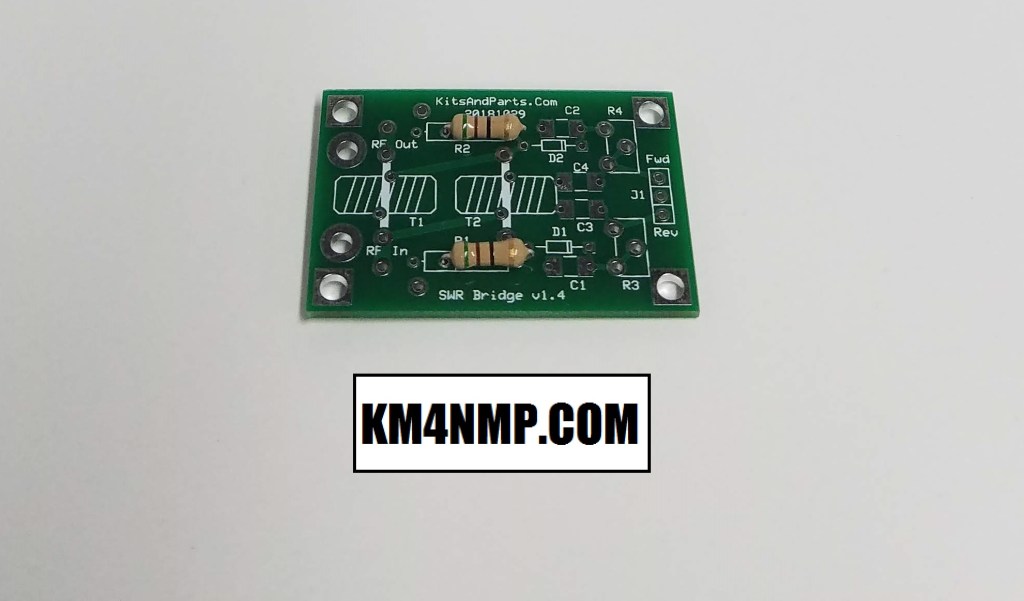
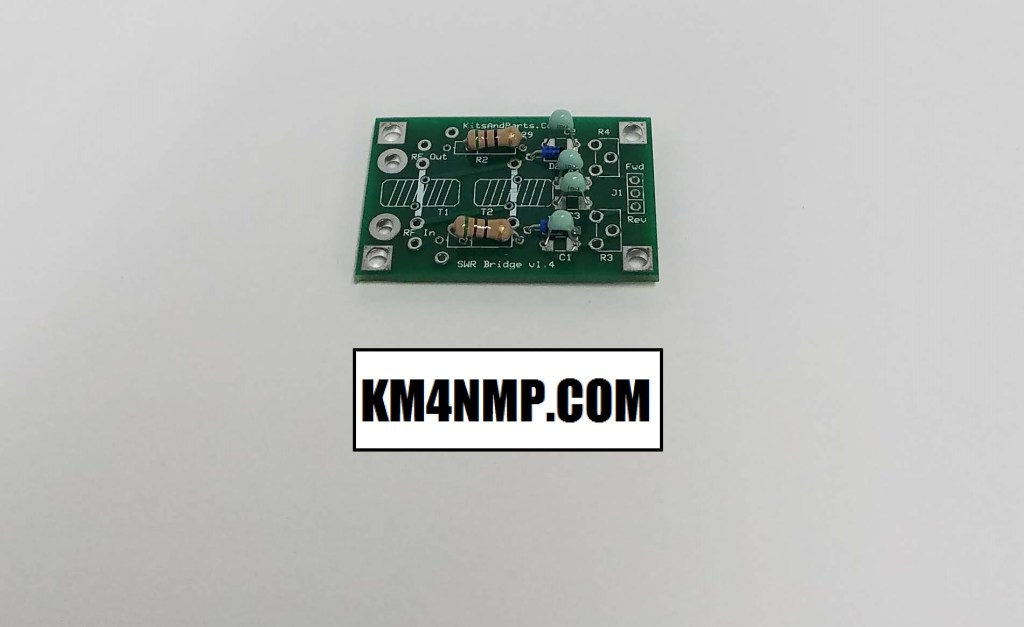
The instructions start us off installing the resistors. It also states to install the 50K pots at this step, but I like to install the lowest profile components first and work you way up.

The next component I installed was the diodes. For this SWR Bridge, the through hole capacitors will be used and they are tall in comparison. The 2nd Bridge will be constructed using the surface mount capacitors. In that case the capacitors will be installed first.
The surface mount capacitors are supposed to have better RF shunting to ground and are recommend by the manufacture. Testing will be done with both types of capacitors.

The 50k pots are install next. These are used to adjust the signal going to the meter.
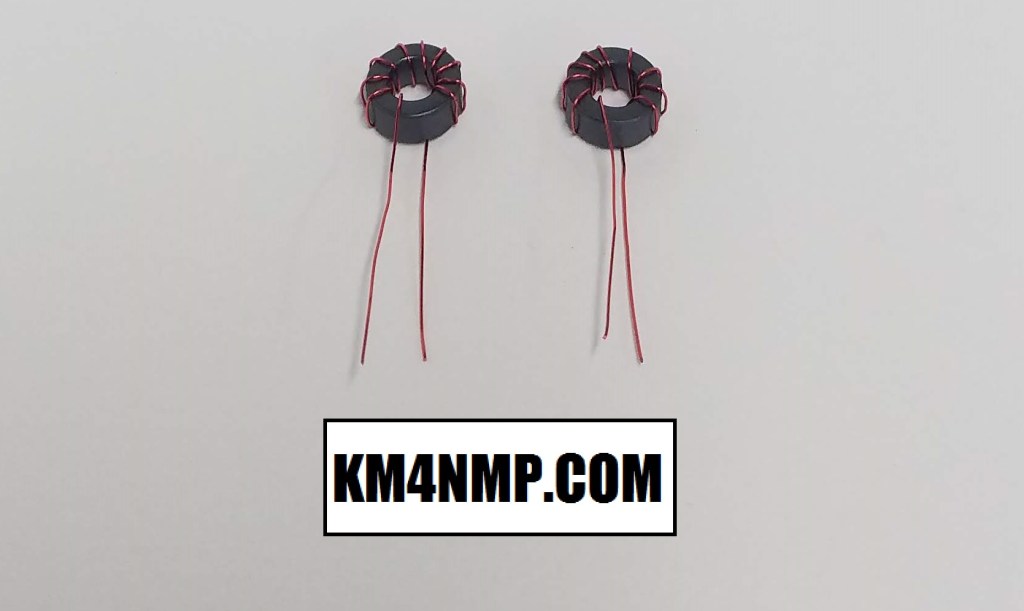
The RF coupling Transformers have to to be wound. First take the 26 awg and cut it in half. Wind the coils clockwise 10 or 12 turns. These transformers are wound with 10 turns. This is supposed to be more sensitive at lower powers. If you use 10 turns the bridge is capable of 3.5 – 30 MHz. The loss in frequency is not an issue in my case. Make sure to clean all the insulation off the magnet wire before installation. The easiest way I have found to do this is with sand paper.
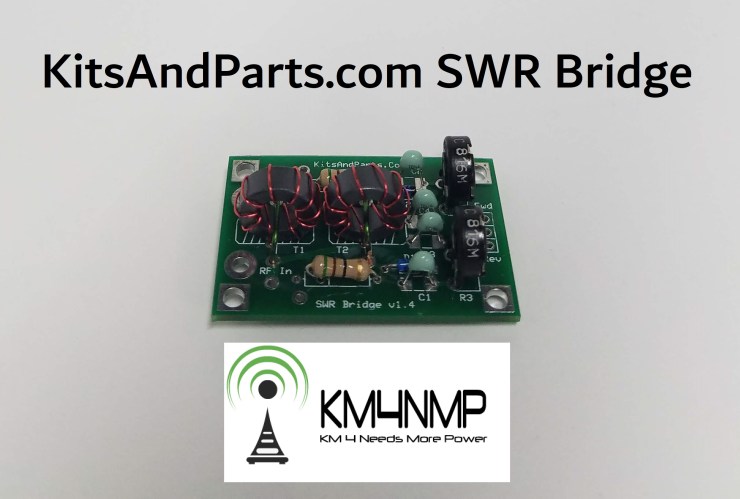
This was a relatively easy and fun kit to build. This will be connected to an Arduino for testing and if results are good will be installed in a Ubitx V5. Once testing with the Arduino is done future posts will be made.
Links
Latest Posts
- 2:1 Balun For 2m/6m
- 1:1 Choke For 2m and 6m
- 2m Delta Loop Ver 2
- 2m Delta Loop
- Finishing The 6m Delta Loop With 2:1 Balun


2 thoughts on “Assembling The KitsAndParts.com SWR Bridge Kit.”