There has been several times other hams have come to me with an issue with there Ameritron RCS-10. In all cases they were hooking the unit up with power attached and shorted it out. They were not aware of the fuse inside the unit and thought they burnt the unit up.
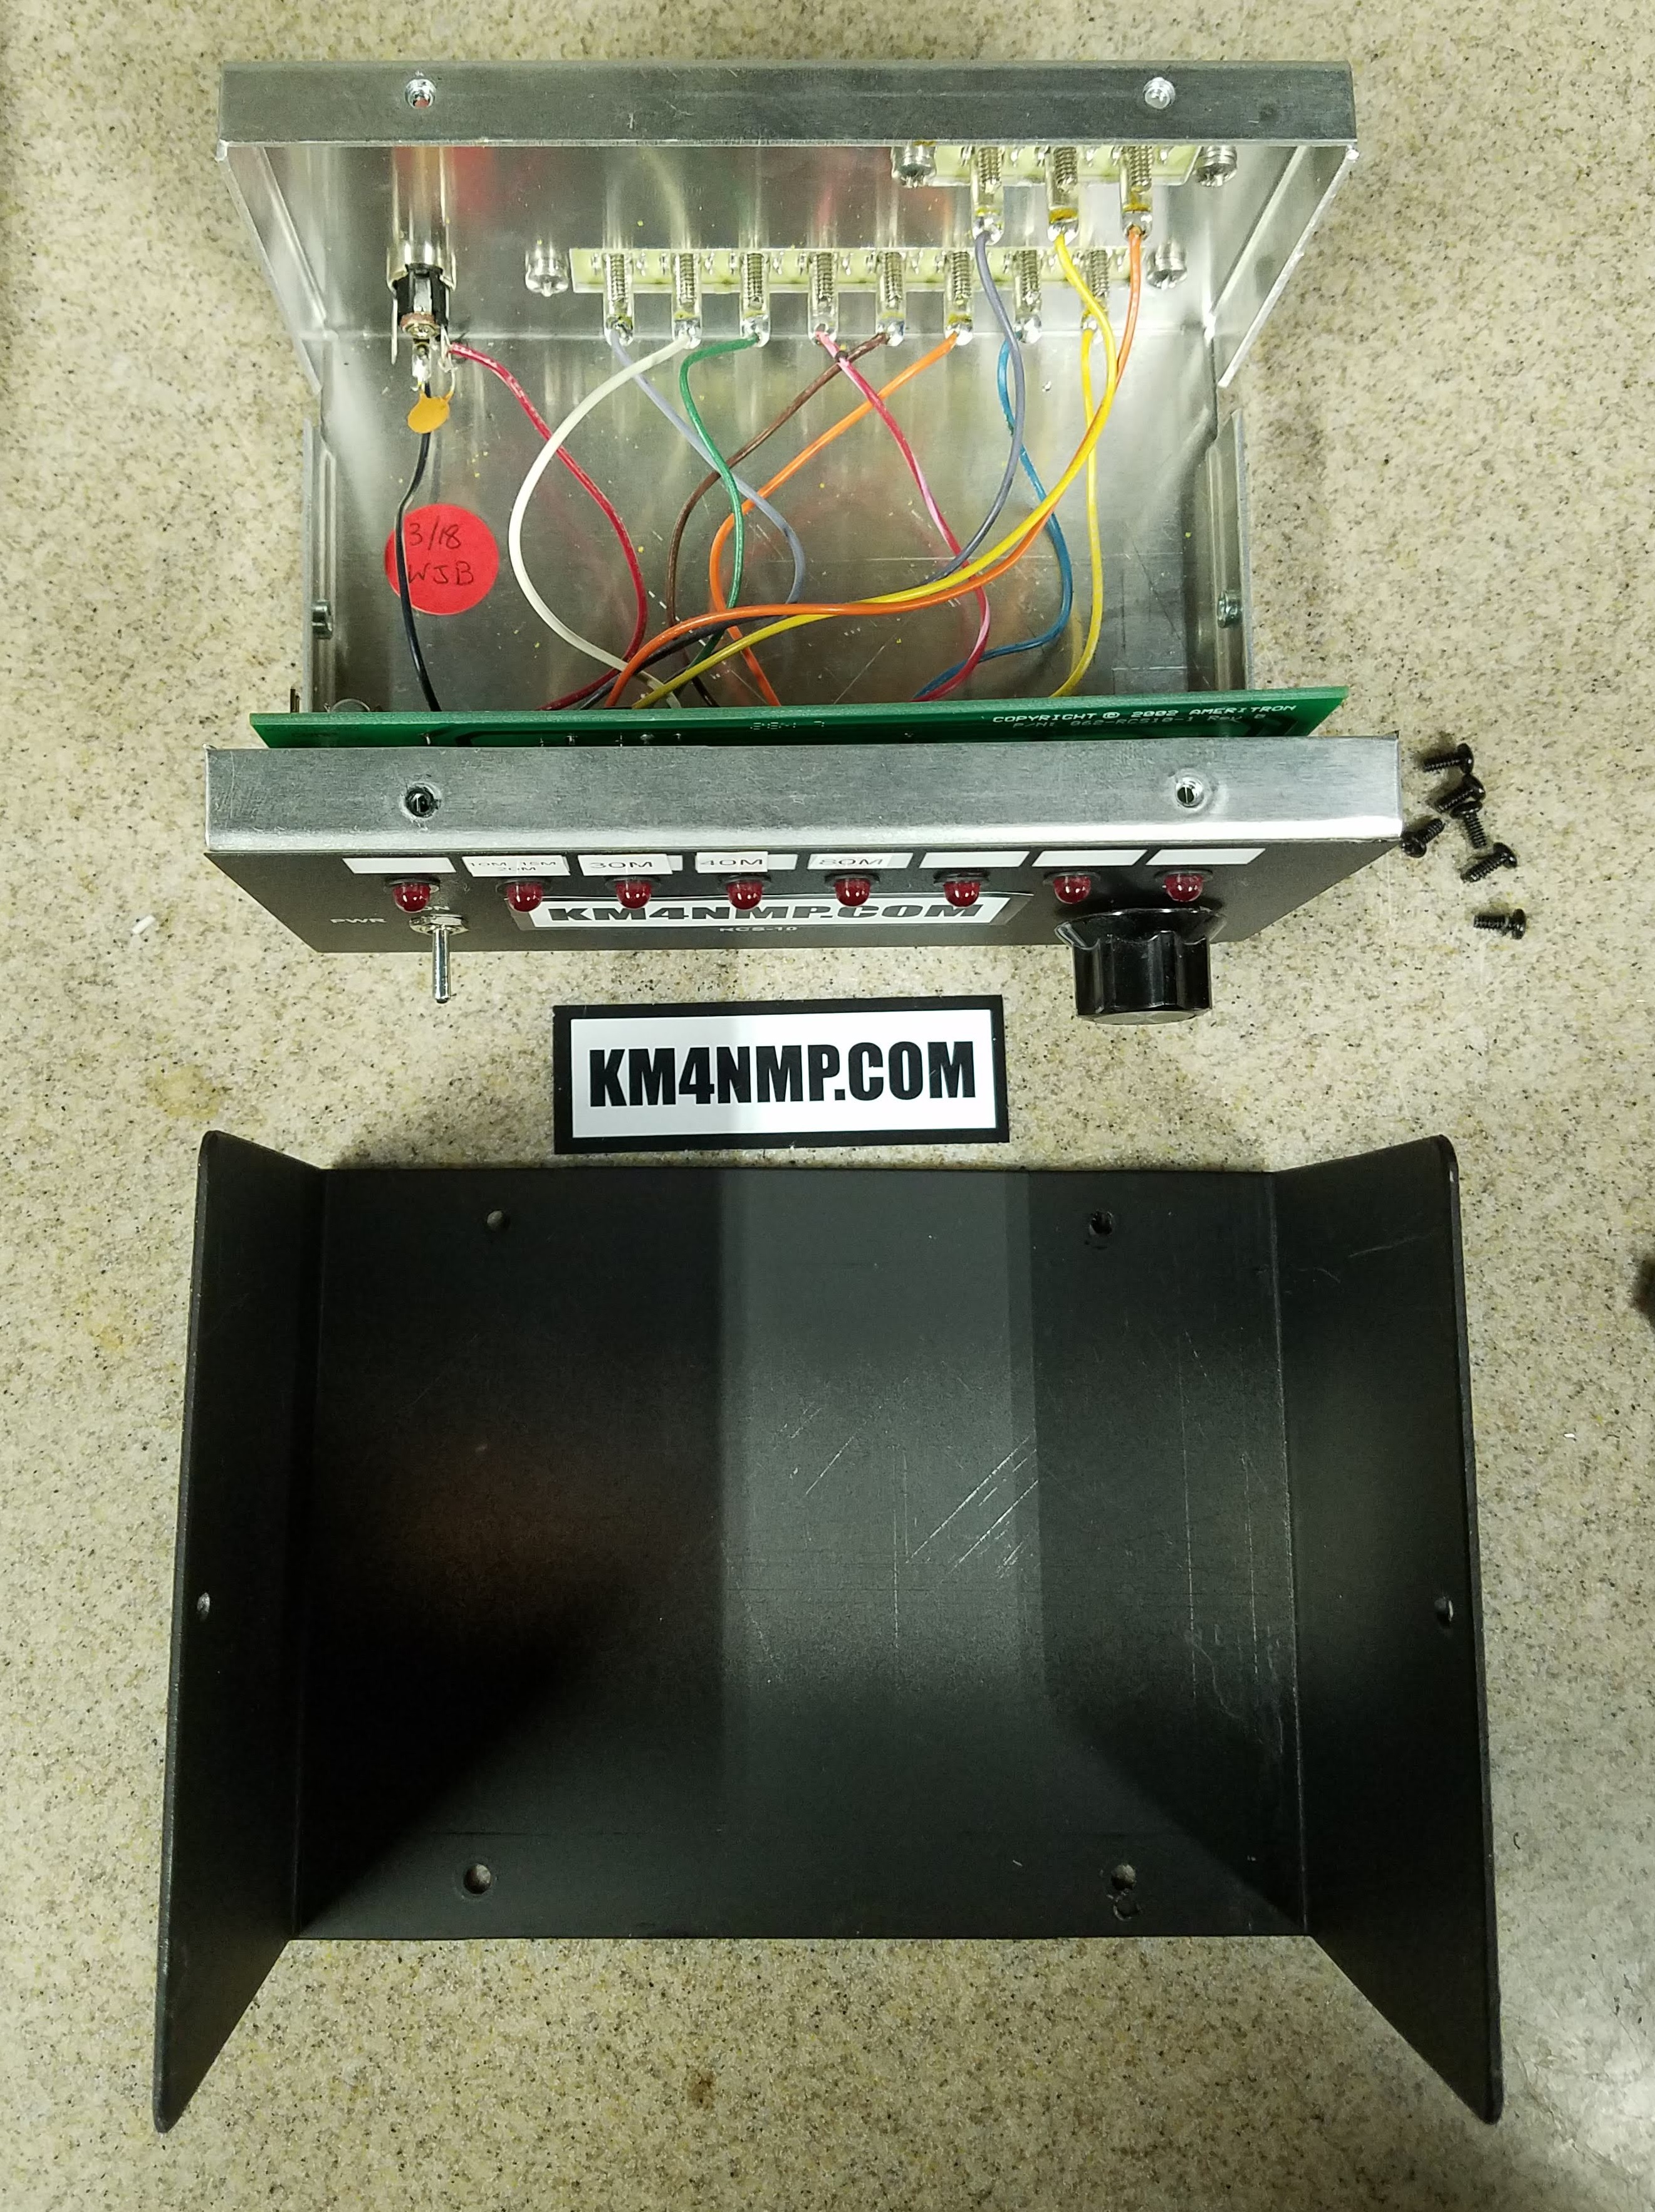
The fuse is very simple to replace and only requires removing the 6 cover screws. 4 screws are located on the top and 1 screw on each side.
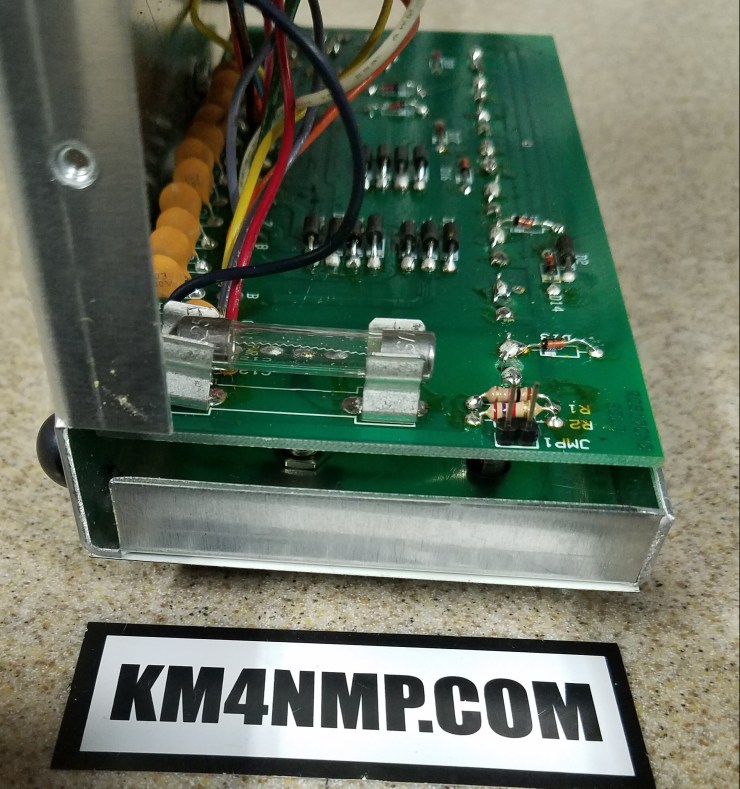
Remove the cover and tilt the RCS-10 forward. On the front of the unit you will see the glass fuse. According to the manual the fuse is a standard auto-glass (3AG) style 1-amp fuse. Remove fuse and install the new one. Once this is complete, reinstall the cover and connect wiring with power disconnected.
Links
https://km4nmp.com/2019/03/16/ameritron-rcs-10-review/
Click to access ame-rcs-10.pdf
Latest Post
- 2:1 Balun For 2m/6m
- 1:1 Choke For 2m and 6m
- 2m Delta Loop Ver 2
- 2m Delta Loop
- Finishing The 6m Delta Loop With 2:1 Balun


3 thoughts on “Ameritron RCS-10 Fuse Replacement”