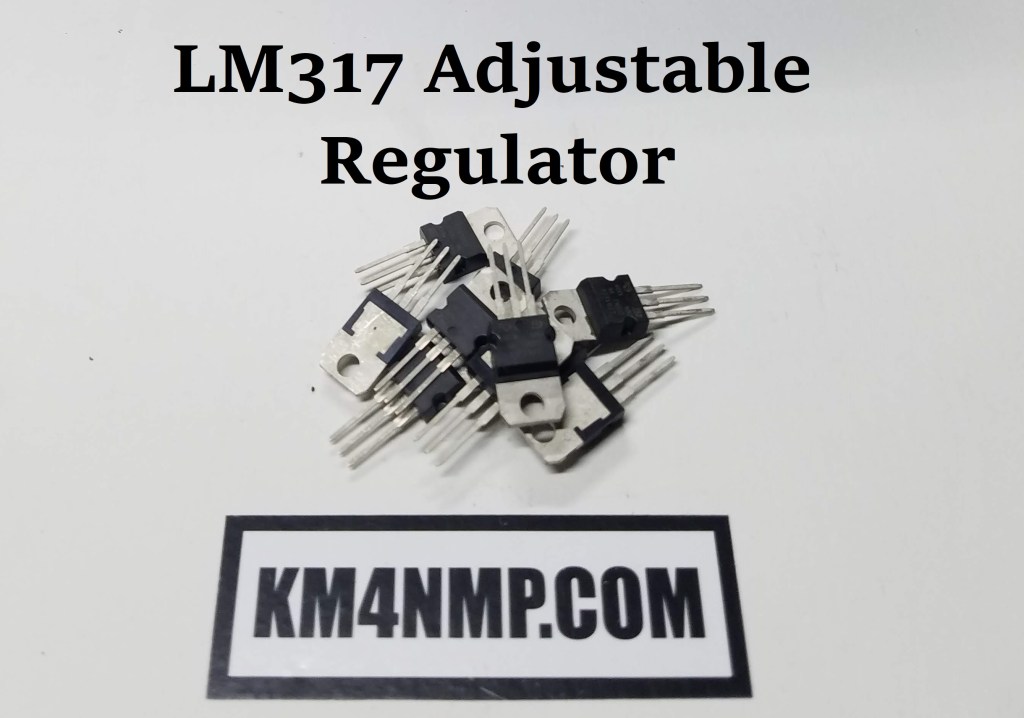
A good regulator, to have in the parts bin, is the LM317 Adjustable Voltage Regulator. It is capable of producing 1.25 – 37 V. The voltage is set by 2 external resistors. I like to use a 220 ohm resistor and a 5k potentiometer. This gives you the capability to adjust exactly to the desired voltage.
The LM317 is rated at 1.5 amps; and, if more amperage is needed, several can be used together. It also includes current limiting and thermal overload protection. When conditions return to normal, the regulator will resume operation.

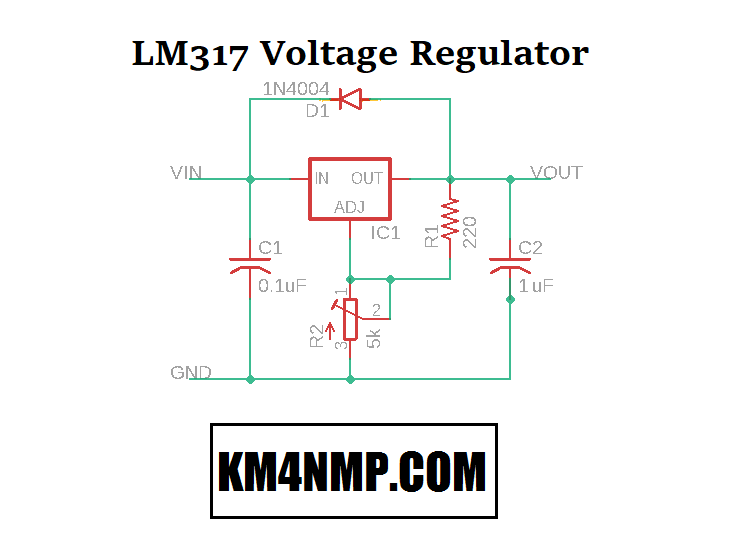
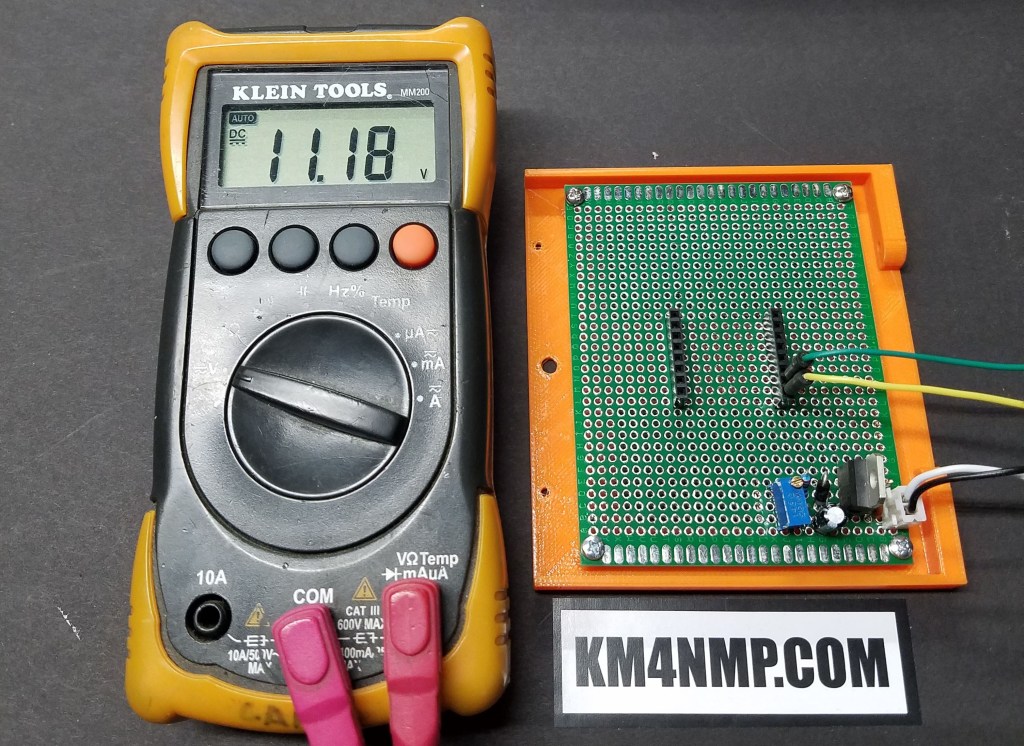
This is the typical setup I use. A 1N4002 diode can be used in place of the 1N4004 used in the schematic. The manufacture example also shows a 240 ohm resistor instead of a 220 ohm resistor. I usually have the 1N4004 and 220 ohm resistor on hand. A link to the Data Sheet is provided at the bottom of the page.
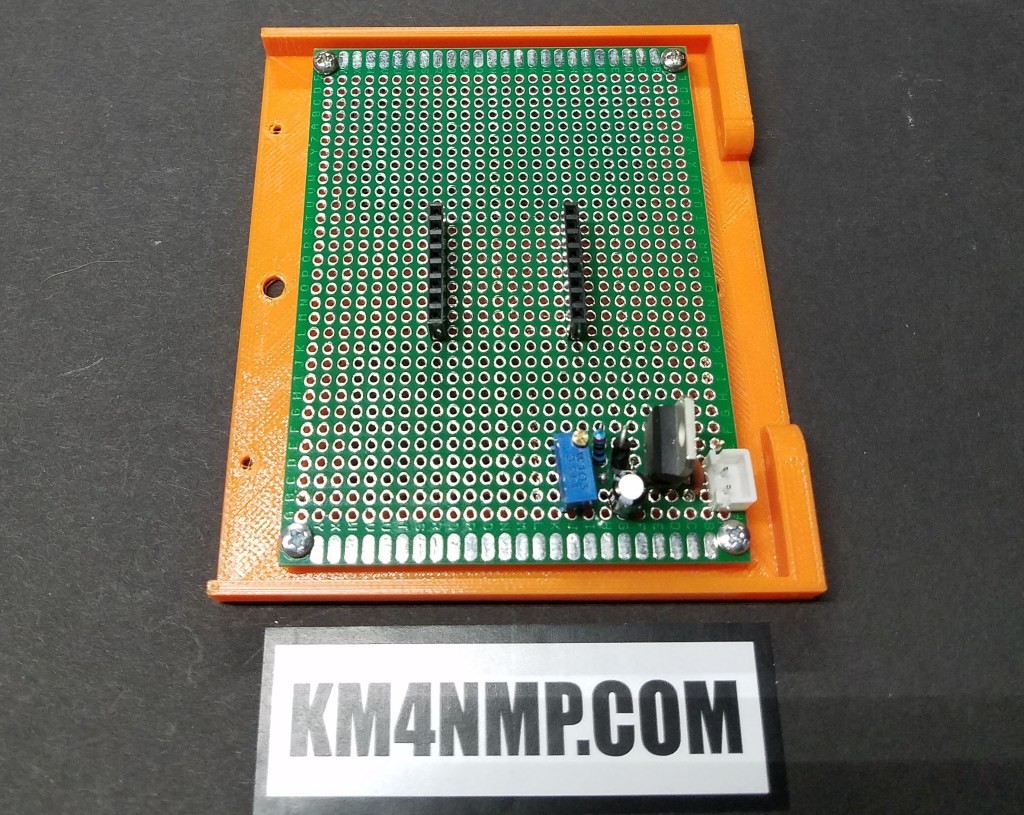
When mounting the components, remember to leave room for a heat sink. Some applications do not require them; but, I usually use one anyway. Before connecting to a device, make sure to set the voltage. Use a multi-meter and adjust the potentiometer until you have the proper voltage.
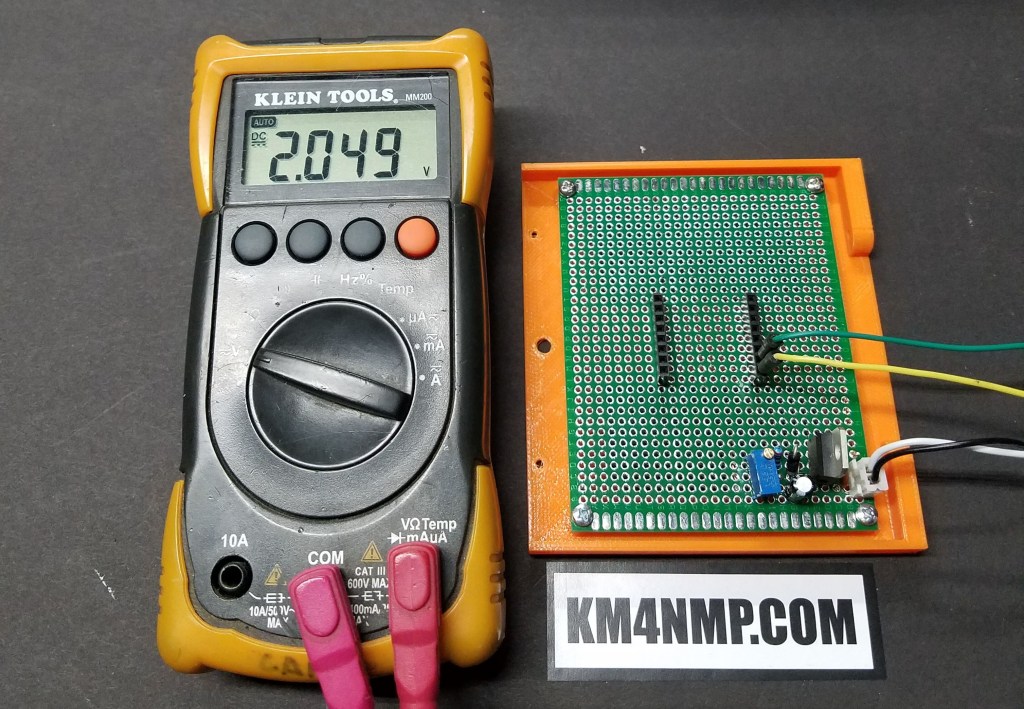
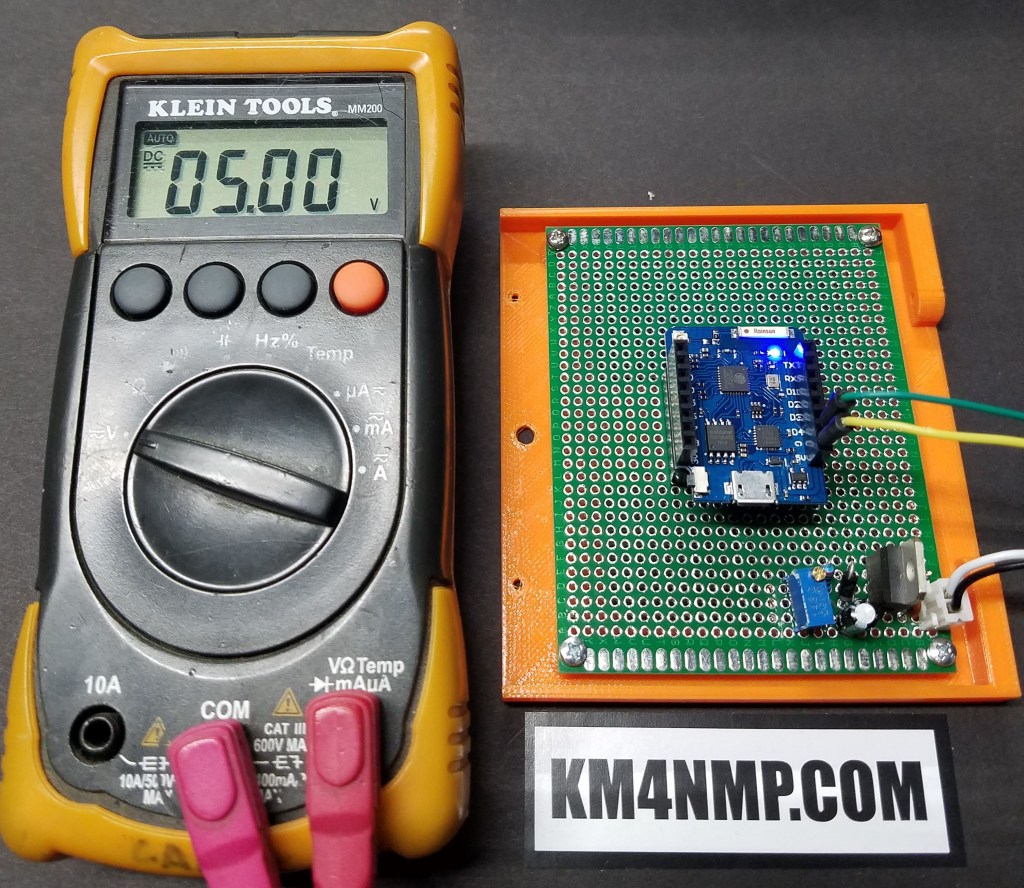
This regulator will be powering a D1 Mini Pro; so, the voltage is adjusted to 5 volts. The output is connected to the 5 volt pin on the D1 Mini. A second regulator will be installed and adjusted to 3.3 volts to power accessories. The LM317 is capable of providing a lot more amperage than the built on regulator.
Links
https://km4nmp.com/2019/05/11/lm7805-regulated-5-volts/
Latest Posts
- 2:1 Balun For 2m/6m
- 1:1 Choke For 2m and 6m
- 2m Delta Loop Ver 2
- 2m Delta Loop
- Finishing The 6m Delta Loop With 2:1 Balun


1 thought on “Using a LM317 Adjustable Regulator”