Recently, I constructed a 40m dipole for the Raspberry Pi 4 SDR. Today, I connected the new antenna to the Ham it Up upconverter. The Upconverter is easy to connect and just requires a jumper and USB connection for power.
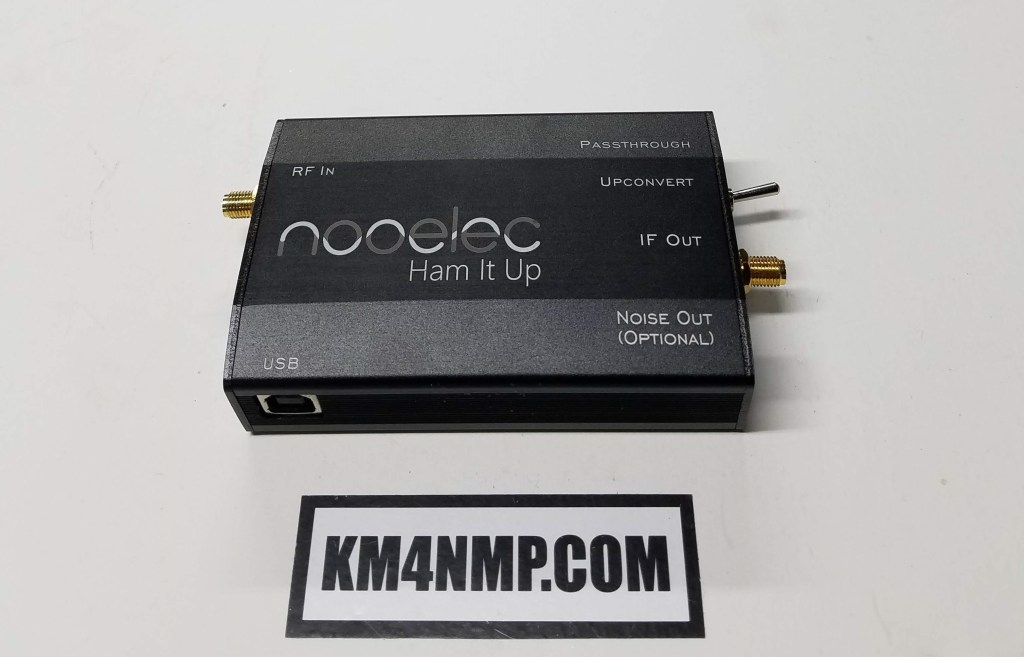
The Ham It Up converter used in this post was already assembled and in the case. It is part of the NESDR Smart HF Bundle. The Ham It Up is capable of being used for 100 kHz – 60 MHz. The bundle came with the needed jumper to connect the SDR to the HAM It Up. A SMA male to SO-239 female was used to connect the antenna to the Ham It Up upconverter. This was purchased separately.

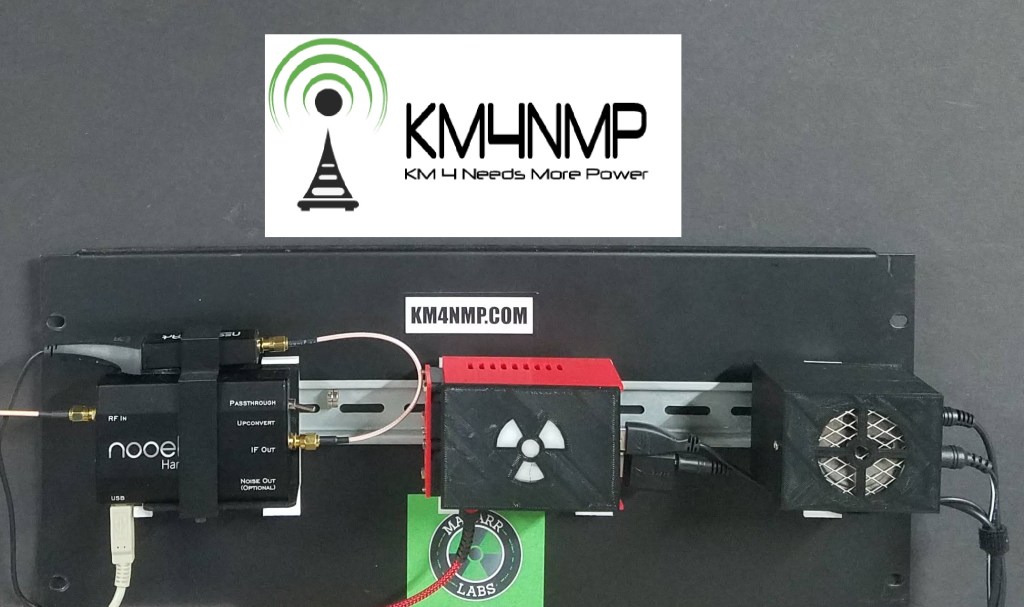
Macarr Labs printed a bracket to mount the Ham It Up to a standard DIN rail. The clip that holds the upconverter also has a spot for the SDR.

The Ham It Up, Raspberry Pi 4, and powered speaker fit nicely on a piece of 16″ DIN rail. To connect the Upconverter to the Pi 4, a USB extension was used. For power, the Ham It Up is connected to a USB wall plug.

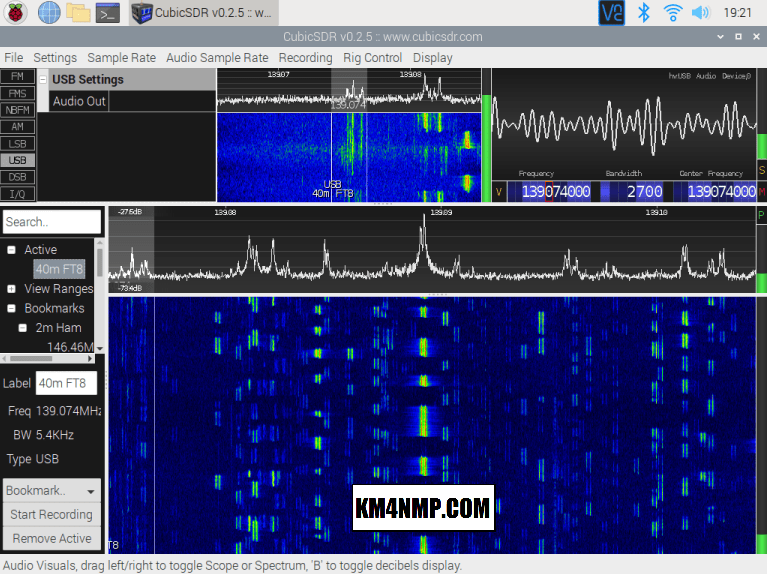
A 40m Dipole is used for the antenna. For details on the building of this antenna check out the 40m Dipole Post. 40m has a lot of activity and is a good band to test on. While testing, I decided to check out 20m. This antenna received very well on that band too. Future testing will be done on other bands.

I find the easiest way to operate with the Ham It Up is to turn the switch to upconvert and add 125 MHz to the frequency desired. This prevents us from having to change offsets. Whenever it is needed to switch back to higher frequencies, simply turn the upconverter to Passthrough and set the frequency desired.
Links
https://km4nmp.com/2020/01/04/40m-dipole/
https://km4nmp.com/2019/12/21/using-a-sdr-with-the-raspberry-pi-4b/
Latest Posts
- 2:1 Balun For 2m/6m
- 1:1 Choke For 2m and 6m
- 2m Delta Loop Ver 2
- 2m Delta Loop
- Finishing The 6m Delta Loop With 2:1 Balun

