
An easy way to have a remote desktop connection with the Raspberry Pi is using VNC Server. The latest versions of Raspbian have VNC already installed. The easiest way to enable it is through the desktop. Before enabling it first check for updates and upgrades.
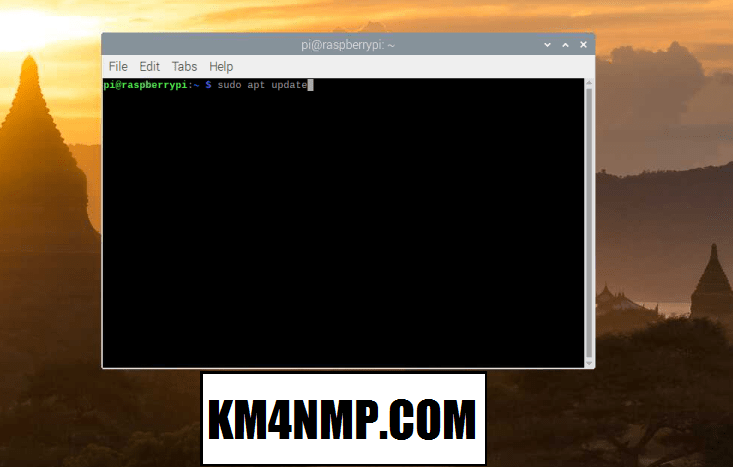
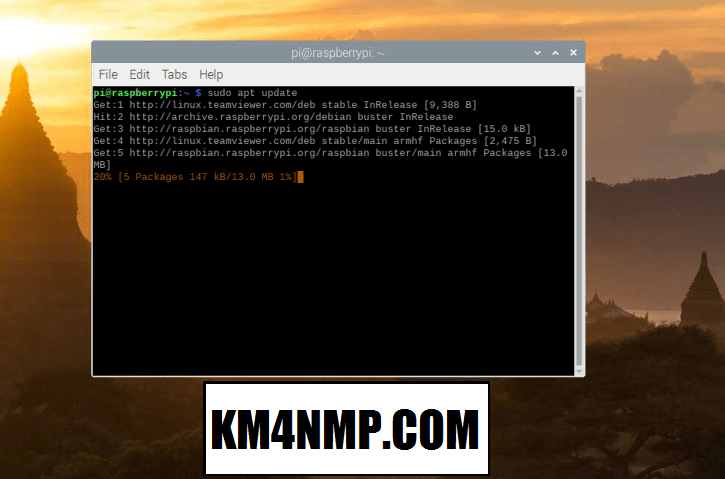
Open a terminal window and type “sudo apt update”. This will update the repository package list.

After it gets done, type “sudo apt dist-upgrade”. Follow any prompts that may be displayed. It may take several minutes to upgrade depending on how many updates have to be applied.
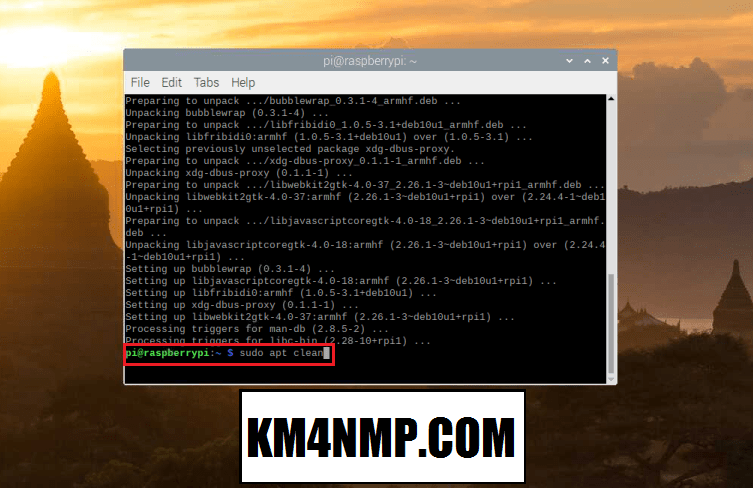
After the updates, it is a good idea to clear out any unnecessary files that are left over from the upgrade. Type “sudo apt clean”.
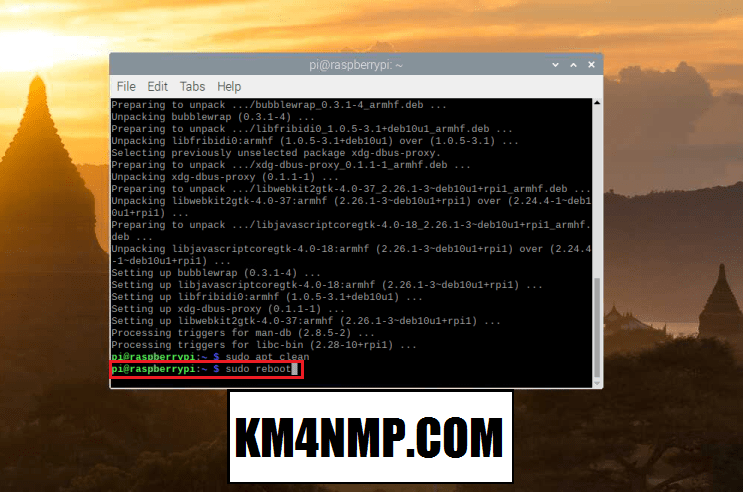
The last step to the update is to reboot the Raspberry Pi.

Now that our Raspberry Pi is up to date, we can enable the VNC Server. Click on the raspberry and navigate to Preferences. Click on “Raspberry Pi Configuration”.

A settings window will open. Click the tab “Interfaces”.

On the Interfaces tab, click enable beside VNC. Click OK and reboot the Raspberry Pi.
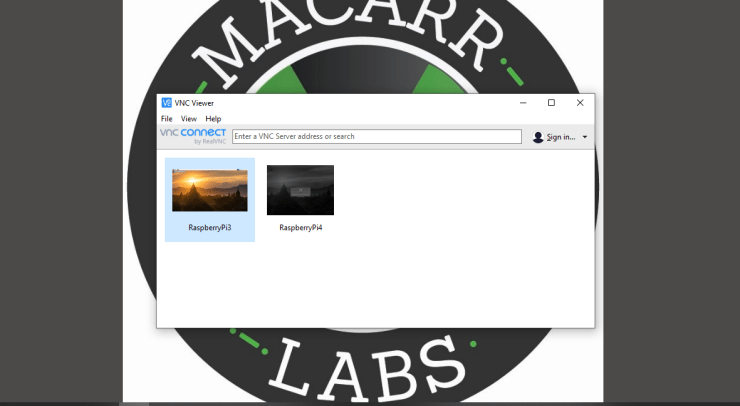
The Raspberry Pi is now ready for a remote connection. Download VNC client on your preferred device. Once installed, enter the IP address in the VNC Server Search bar. If you entered the proper address, it will prompt you for a Username and Password. You can now control your Pi with no keyboard or monitor attached.
Links
https://km4nmp.com/2019/11/09/backing-up-the-raspberry-pi-sd-card/
https://km4nmp.com/2019/11/03/loading-raspian-on-the-new-raspberry-pi-4-b/
https://km4nmp.com/2019/11/02/the-raspberry-pi-4/
Latest Posts
- 2:1 Balun For 2m/6m
- 1:1 Choke For 2m and 6m
- 2m Delta Loop Ver 2
- 2m Delta Loop
- Finishing The 6m Delta Loop With 2:1 Balun


3 thoughts on “How to Enable VNC for your Raspberry Pi.”