
CHIRP is a very useful open source program for programming amateur radios. There are a ton of radios this program is capable of connecting to. One thing I want to say first, before going further, there have been reports that use of this program has bricked the radio connected. I have not experienced this with any radio I have ever connected. All reports that I have gotten are third hand and unverified. With that being said, KM4NMP.com is not responsible and will not be held liable in case of any failure of your equipment.
Download and install the CHIRP software. At the bottom of the post I have provided the website to download from. When you buy the programming cable for your radio, it should come with a driver disc. Follow the installation instructions provided with the driver.
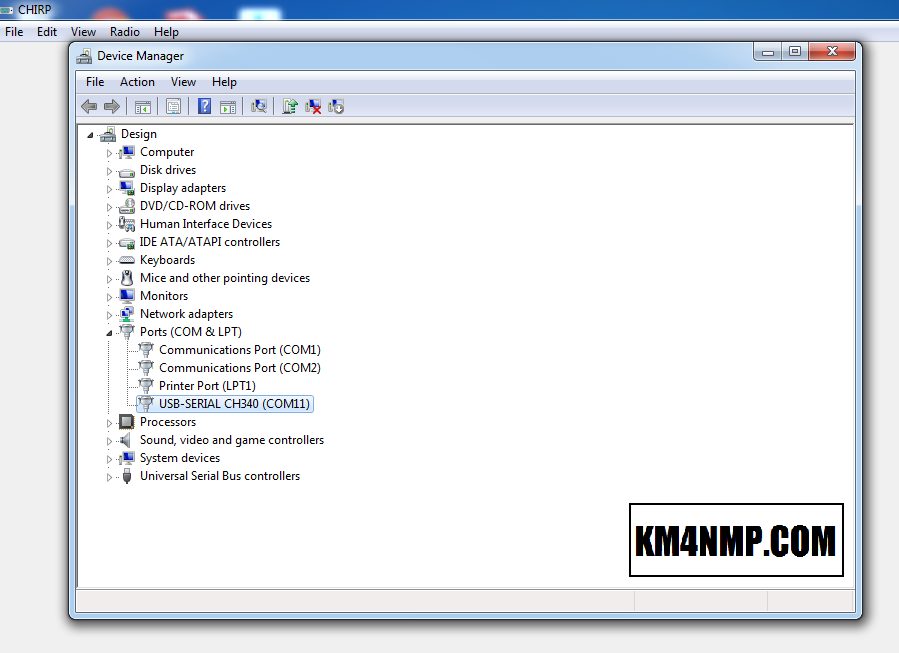
Once your driver is installed check what port is assigned to the programming cable. Click on the Windows Start button. Without clicking anywhere else, type “device manager”.

After you have the Device Manager open, click on the Ports heading in the tree. The port should be in the list with the COM number. You will need the com port number for CHIRP to operate. If there is an exclamation point by to port then the driver is not working properly and needs to be troubleshot.
Now that we have our com port number, connect your radio and turn it on. The first thing you should do is get the base program out of the radio. This will also get the firmware version of the radio and format our new file right. In CHIRP, click where it says Radio in the top menu and select Download from Radio.

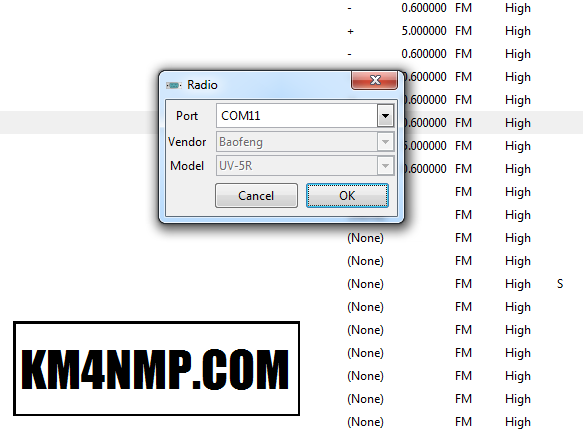
A window will pop up asking you to input the information about your radio. The port is the number we noted earlier. Vendor and Model will depend on your radio. After inputting the information click ok.

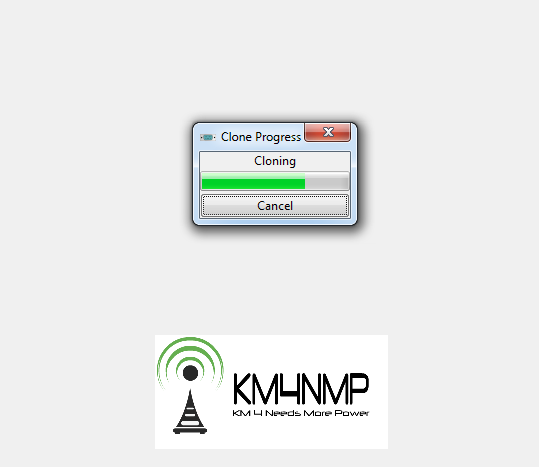
When you click ok, it will start pulling the information off the radio.
Once the program is done it will display the screen were you can add frequencies and change settings. The frequencies can be copied and pasted from other radios.

After your changes have been made, we have to send the program back to the radio. In the menu click Radio and then Upload to Radio.

Double check the com port and click ok.
The progress box will pop up and tell you when it is done. Before disconnecting radio, I like to power it down first.

Power the radio back up and test. Hopefully this program will make for easier and faster programing.
Links
https://chirp.danplanet.com/projects/chirp/wiki/Home
https://km4nmp.com/2019/03/23/baofeng-uv-5ra-review/
https://km4nmp.com/2019/05/12/tyt-th-9800-review/
https://km4nmp.com/2019/04/14/tyt-th-9000d-review/
Latest Post
- 2:1 Balun For 2m/6m
- 1:1 Choke For 2m and 6m
- 2m Delta Loop Ver 2
- 2m Delta Loop
- Finishing The 6m Delta Loop With 2:1 Balun


Have had good success with CHIRP.
Hardest part was figuring out what comm port it wanted.
When programming a 5 pack of Beofang UV 82HP’s, each radio had to have its unique program that originated from that radio.
Could cut and paste all you want but had to keep the programs separate.
After I figured that out I named the radios R1 – R5, put that in memory slot 0 and as part of the file name.
LikeLiked by 1 person
For those who need a programming cable, do not buy an exclusive cable for Baofeng.
There are better options.
Some time ago I bought a cable that allows you to program 8 different brands of radios and many models on each one.
It is an excellent alternative for those who, or think they have, have one or more additional radio brands to Baofeng.
It allowed me to program radios, Kenwood, Motorola and Baofeng 🙂
I leave a review that I wrote about the cable.
https://hamradioprogramming.net/programming-cables/jiykr-8-in-1-radio-programming-cable-review
73’s by LU9CNS
LikeLike